Recipe for Adorable Easter Thumbprint Cookies
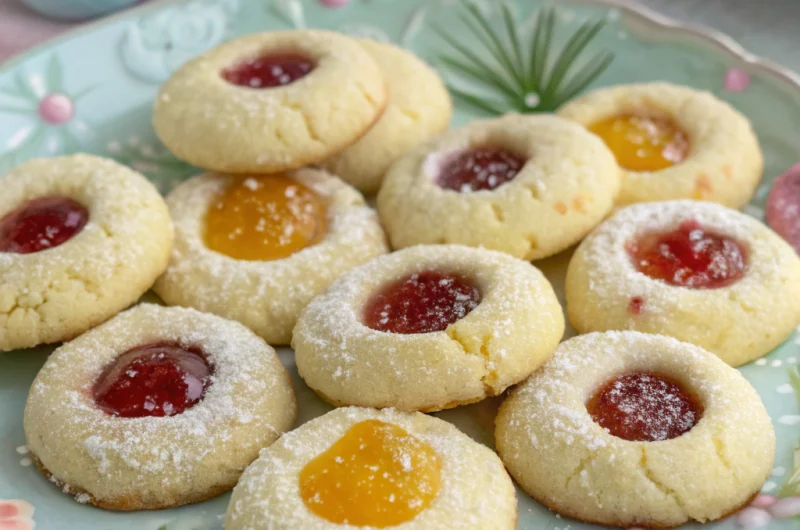
Spring is in the air, and there’s no sweeter way to celebrate the season than with a batch of absolutely adorable Easter thumbprint cookies! Picture this: tender, buttery cookies that practically melt in your mouth, each one nestled with a jewel-like center of vibrant jam or creamy pastel icing. These delightful little treats capture all the joy and brightness of Easter morning in every single bite.
I’m about to share with you my foolproof, step-by-step guide that will have you creating the most picture-perfect Easter thumbprint cookies you’ve ever seen. Trust me, even if you’re a complete baking beginner, you’re going to absolutely nail this recipe. Let’s dive into some Easter magic together!

Easter Thumbprint Cookies Recipe Overview
How To Make Easter Thumbprint Cookies
24
servings15
minutes20
minutes120
kcal1
hour5
minutesBake the cutest Easter Thumbprint Cookies with this easy, no-fail recipe! These buttery cookies with sweet jam or icing centers are perfect for spring baking with kids.
Key Ingredients
- For the Cookie Dough:
1 cup (226g) unsalted butter, softened to room temperature
⅔ cup (133g) granulated sugar
1 large egg yolk (this is the secret to ultra-tender cookies!)
1 teaspoon pure vanilla extract
2 cups (240g) all-purpose flour
½ teaspoon salt
- For the Fillings (Choose Your Adventure!):
Classic Jam Options:
½ cup strawberry jam or preserves
½ cup raspberry jam
½ cup apricot preserves
- Festive Icing Option:
1 cup powdered sugar
2-3 tablespoons milk or cream
½ teaspoon vanilla extract
Food coloring in Easter pastels
- Special Spring Option:
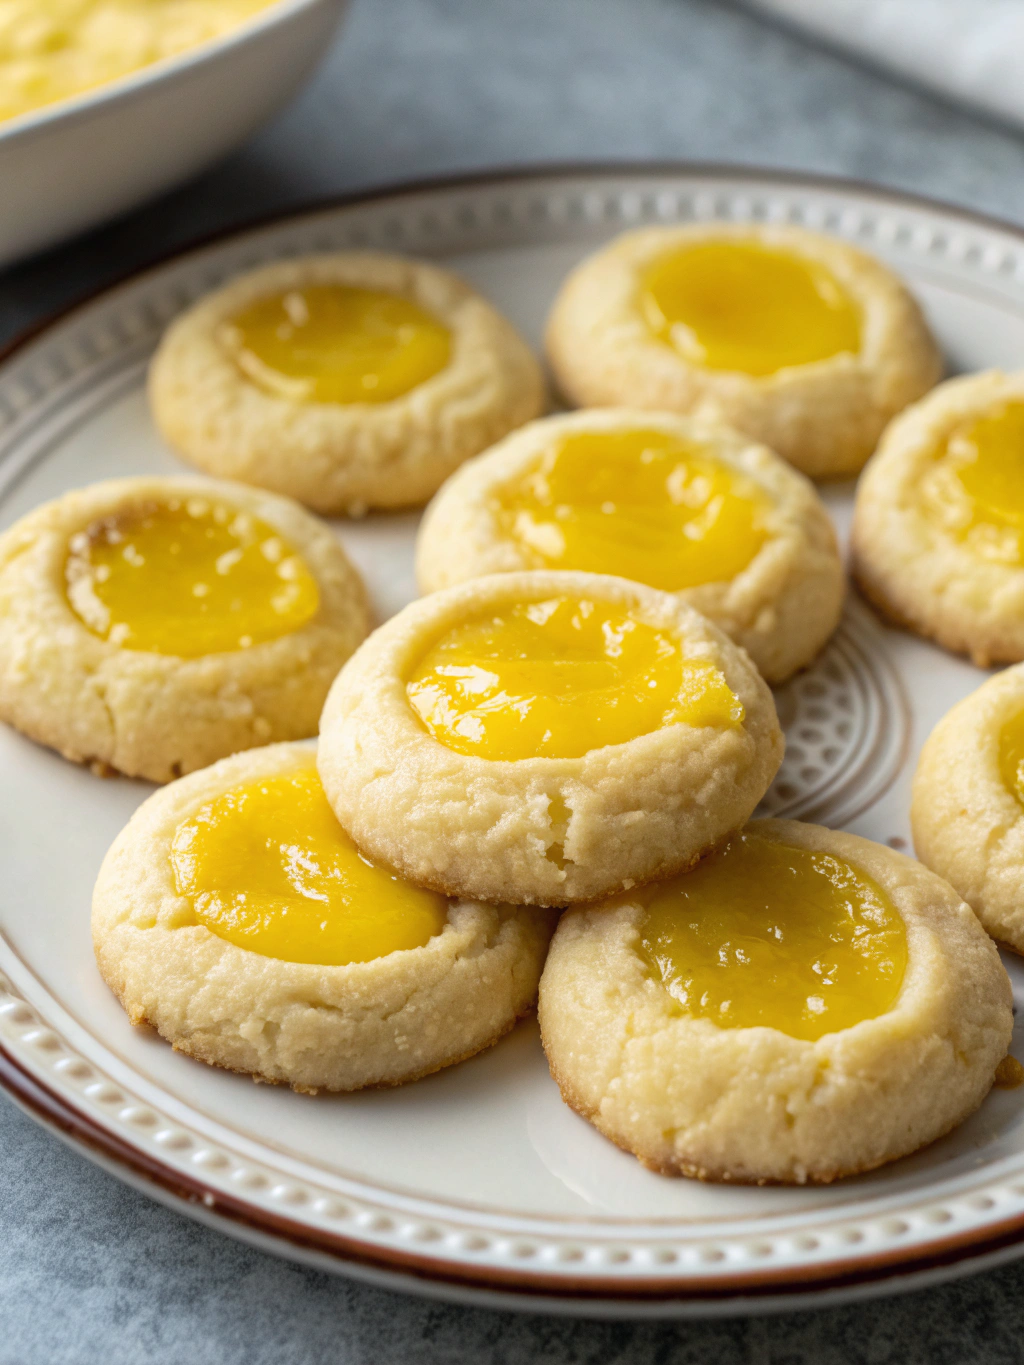
½ cup lemon curd for a bright, zesty twist
For Decorating (Optional but Oh-So-Fun!):
Easter-themed sprinkles
Toasted shredded coconut
Mini chocolate eggs
Powdered sugar for dusting
Instructions
- Cream the Butter and Sugar (3-4 minutes)
- In your mixing bowl, cream together that beautifully softened butter and granulated sugar until the mixture is light, fluffy, and pale in color. This step is crucial for creating that tender, melt-in-your-mouth texture we're after!
- Add the Egg Yolk and Vanilla (1 minute)
- Mix in the egg yolk and vanilla extract until everything is perfectly combined. You'll notice how the mixture becomes even more smooth and luxurious – that's exactly what we want!
- Prepare Your Dry Ingredients
- In a separate bowl, whisk together the flour and salt. This ensures even distribution and prevents any lumpy surprises in your dough.
- Bring It All Together
- Gradually add the flour mixture to your butter mixture, mixing on low speed just until the dough comes together. Don't overmix – we want tender cookies, not tough ones!
- The Secret Chill (30 minutes)
- Here's my professional tip: wrap your dough in plastic wrap and chill it for at least 30 minutes. This prevents spreading and ensures your thumbprints hold their perfect shape during baking.
- Shape with Love
- Preheat your oven to 350°F (175°C) and line your baking sheets with parchment paper. Roll the chilled dough into 1½-inch balls, making sure to roll them until they're perfectly smooth – this prevents cracking! Place them 2 inches apart on your prepared baking sheets.
- Make Those Signature Thumbprints
- Here's the fun part! Use your thumb or the back of a ½ teaspoon measuring spoon to create indentations in each cookie. Press down about halfway through the cookie – don't go all the way to the bottom.
- Fill and Bake to Golden Perfection
- If using jam, fill each indentation with about ½ teaspoon of your chosen jam. Bake for 12-15 minutes, or until the edges are lightly golden. If using icing, wait until the cookies are completely cool before filling.
Why These Are the Perfect Easter Cookies
Let me tell you exactly why these thumbprint cookies are going to become your go-to Easter treat:
• Unbelievably Easy & Fun: With just a simple dough and a delightfully hands-on shaping process, these cookies are pure joy to make. No complicated techniques or fancy equipment required!
• Endlessly Customizable: This is where your creativity gets to shine! Use your favorite strawberry jam, experiment with apricot preserves, or go wild with pastel-colored icings and festive sprinkles.
• The Perfect Kid-Friendly Activity: Little fingers are absolutely perfect for rolling the cookie dough into balls and making those signature thumbprint indentations. It’s a wonderful way to create memories while teaching basic baking skills.
• Buttery, Tender & Delicious: Built on a classic shortbread-style foundation, these cookies have that perfect melt-in-your-mouth texture that makes everyone reach for seconds (and thirds!).
• Ideal for Gifting & Parties: They’re absolutely stunning arranged on a platter and pack beautifully into Easter baskets. Your friends and family will be asking for the recipe all season long!
Tips for Easter Thumbprint Cookies Perfection
The No-Crack Trick
The secret to crack-free cookies is all in the rolling technique. Take your time to roll each dough ball until it’s completely smooth between your palms. Any cracks in the ball will show up in your finished cookie, so this step is worth the extra attention!
The Chill Factor
I cannot emphasize this enough – that 30-minute chill time is absolutely crucial! It firms up the butter in the dough, which prevents your beautiful round cookies from spreading into flat, sad discs in the oven.
Jam vs. Icing: When to Fill
- For jam-filled cookies: Add the jam before baking. It will set beautifully during the baking process.
- For icing-filled cookies: Wait until the cookies are completely cool. The icing will stay creamy and won’t melt into the cookie.
Uniform Size Magic
Use a small cookie scoop if you have one – it ensures every cookie is exactly the same size, which means they’ll all bake evenly and look professionally uniform.
Easter Thumbprint Cookies Variations
Easter Bird’s Nest Cookies
Transform these thumbprints into adorable bird’s nests! After shaping your dough balls but before making the indentations, roll them in toasted shredded coconut. Bake as directed, then fill the cooled indentations with a small amount of chocolate frosting or jam and top with 2-3 mini chocolate eggs. Pure Easter magic!
Pastel Rainbow Delight
Create a stunning variety by making small batches of colored icing. Divide your basic icing recipe into separate bowls and tint each one with different food coloring – think soft pink, lavender, mint green, and sunny yellow. Your cookie platter will look like a spring garden!
Lemon & Coconut Dream
For a sophisticated twist that adults will absolutely adore, fill your thumbprints with bright, tangy lemon curd and roll the shaped cookies in toasted coconut before baking. The combination of buttery cookie, tart lemon, and tropical coconut is simply divine.
A Drizzle of Elegance
Once your cookies are completely cool, drizzle them with melted white chocolate using a fork or squeeze bottle. This simple addition makes them look incredibly elegant and adds another layer of sweetness that’s absolutely irresistible.
How to Make Perfect Pastel Icing for Your Easter Thumbprint Cookies
Creating your own Easter icing is easier than you think! Simply whisk together:
- 1 cup powdered sugar
- 2-3 tablespoons milk (start with 2 and add more as needed)
- ½ teaspoon vanilla extract
- 2-3 drops of food coloring
The consistency should be thick enough to stay in the thumbprint but smooth enough to spread slightly. If it’s too thick, add milk a teaspoon at a time. Too thin? Add more powdered sugar.
Storing Your Easter Thumbprint Cookies
Your beautiful Easter thumbprint cookies will stay fresh and delicious when stored in an airtight container at room temperature for up to one week. For longer storage, you can freeze the baked cookies for up to three months – just make sure they’re completely cool and stored in a freezer-safe container with parchment between layers.
Make-Ahead Magic: You can prepare the cookie dough up to 3 days in advance and keep it wrapped in the refrigerator, or freeze the dough for up to 3 months. You can even shape the cookies and freeze them on baking sheets, then transfer to freezer bags once solid. Bake straight from frozen, adding just 1-2 extra minutes to the baking time.
Common Easter Thumbprint Cookies Questions
“Help! My cookies are spreading too much!”
This almost always comes back to the chill time. Make sure your dough is properly chilled and your butter wasn’t too warm when you started mixing.
“My thumbprints are filling in during baking!”
After the cookies have baked for about 8 minutes, quickly remove them from the oven and gently re-press the indentations with the back of a spoon, then return to finish baking.
“What’s the best jam for thumbprint cookies?”
I love using preserves with small pieces of fruit rather than completely smooth jam – they hold their shape better and look more rustic and beautiful. Apricot, strawberry, and raspberry are classic choices that never disappoint.
Happy Baking !!
Congratulations, my friend – you’re now equipped with everything you need to create the most absolutely adorable Easter thumbprint cookies! These little gems are proof that the most beautiful treats often come from the simplest recipes. The combination of buttery, tender cookies with bright, sweet centers captures everything we love about spring celebrations.
I hope these cookies bring as much joy to your kitchen as they do to everyone who gets to enjoy them. There’s something truly magical about the process of rolling the dough, making those little thumbprints, and watching them transform into something so beautiful and delicious in the oven.