Easy Crème Brûlée Cookies Recipe
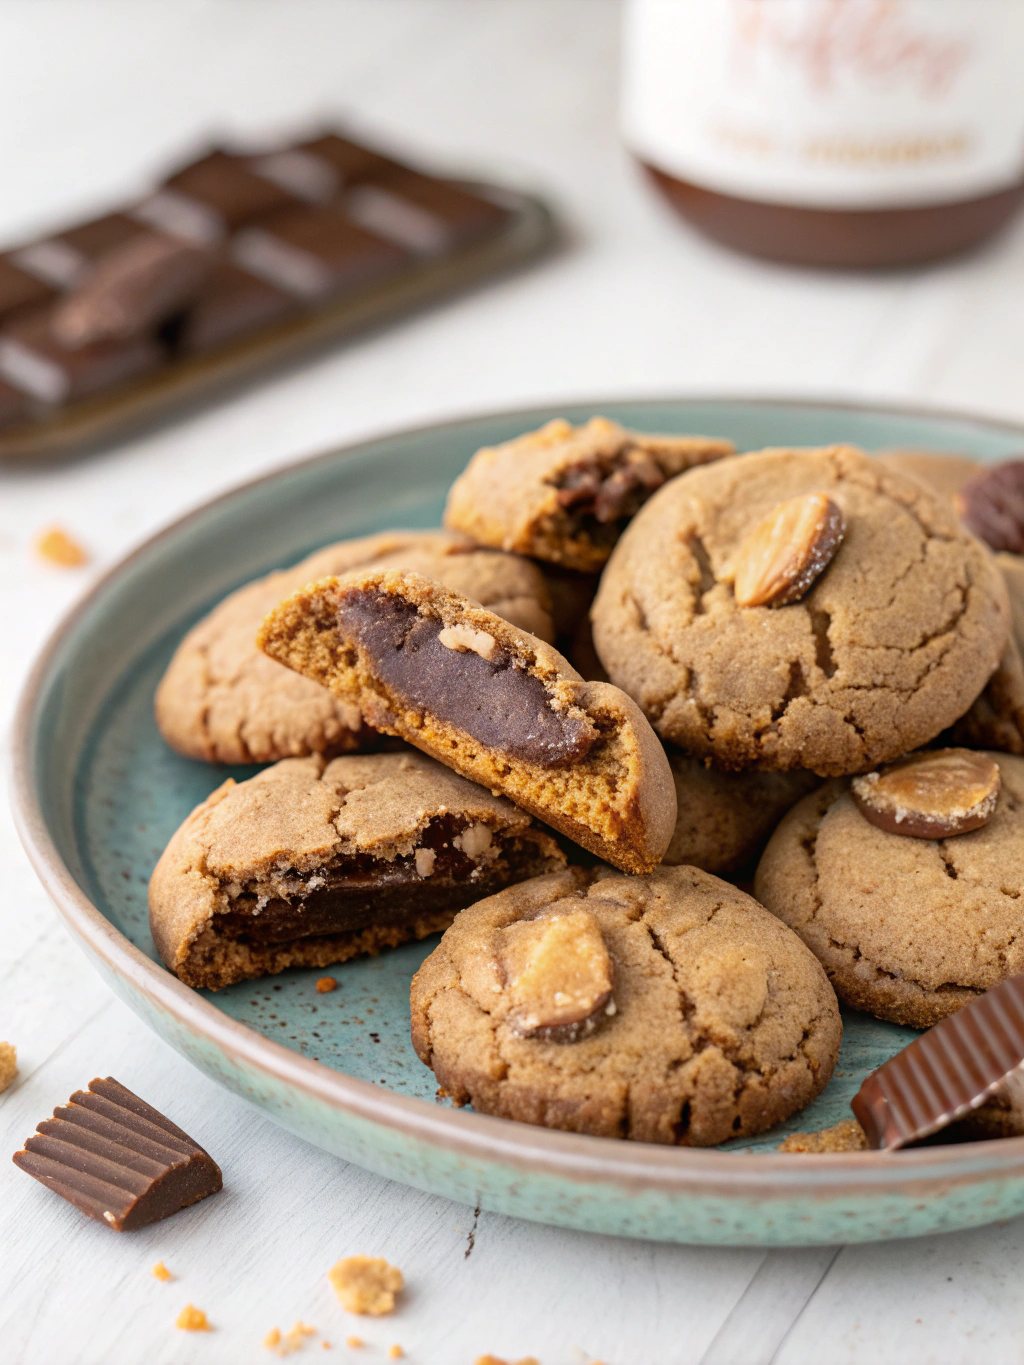
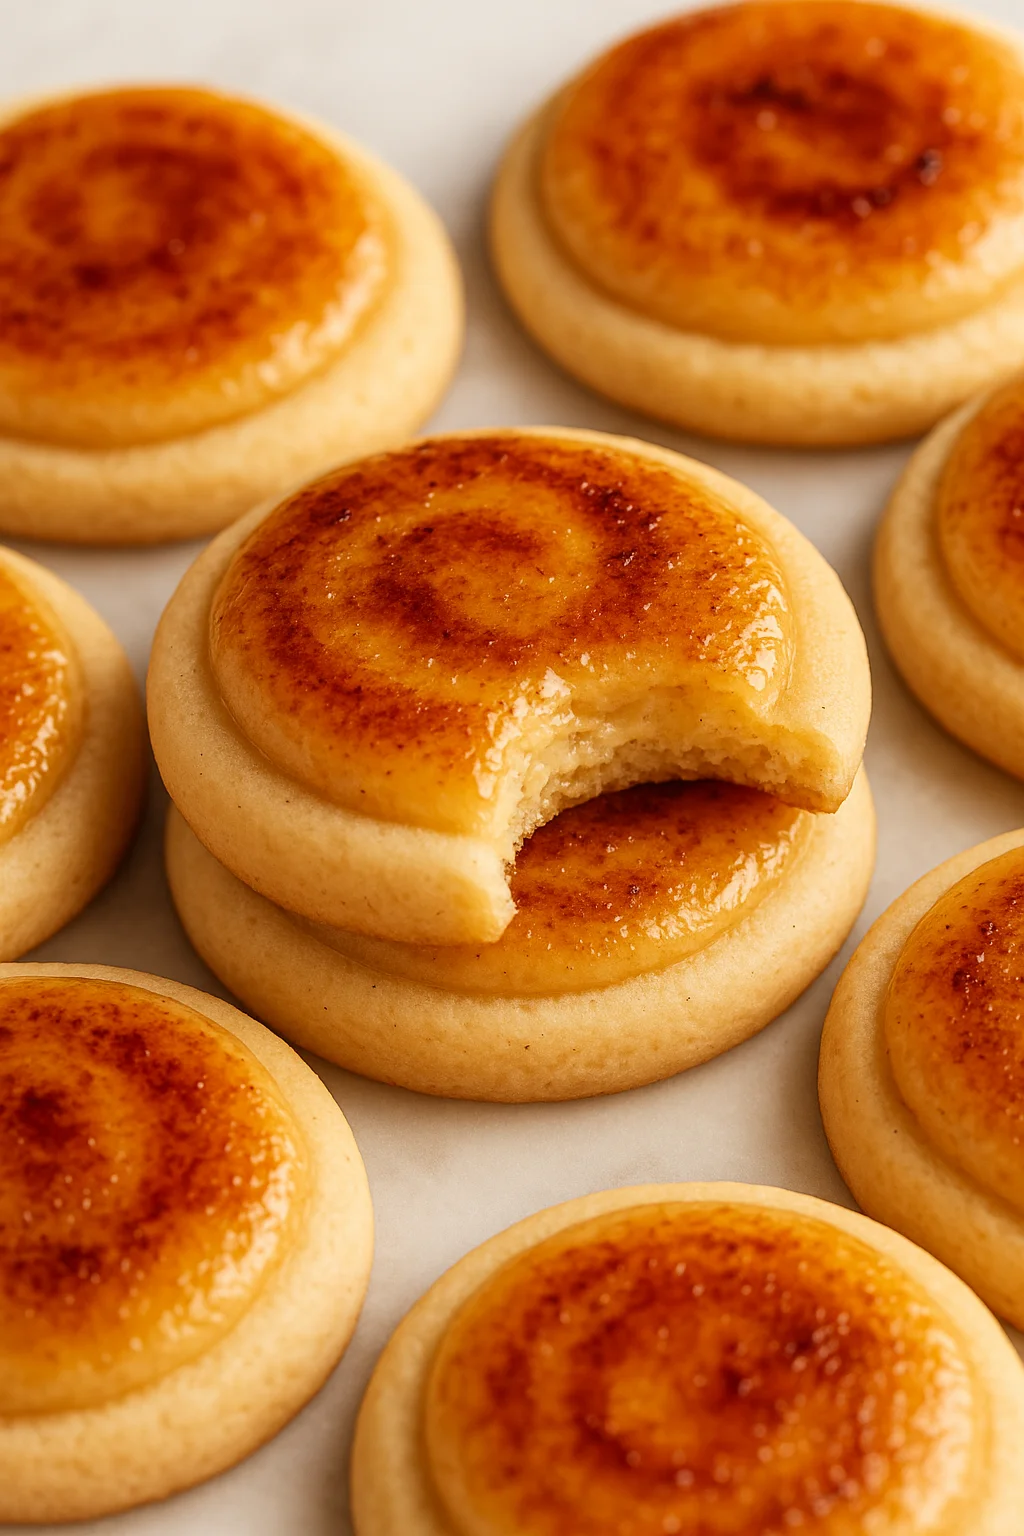
Imagine the most perfect contradiction: the gentle crack of a spoon breaking through caramelized sugar, followed by the soft, creamy luxury of vanilla custard… but in a cookie. These Crème Brûlée Cookies are nothing short of culinary magic—a beloved French classic reimagined in a portable, giftable, utterly impressive form.
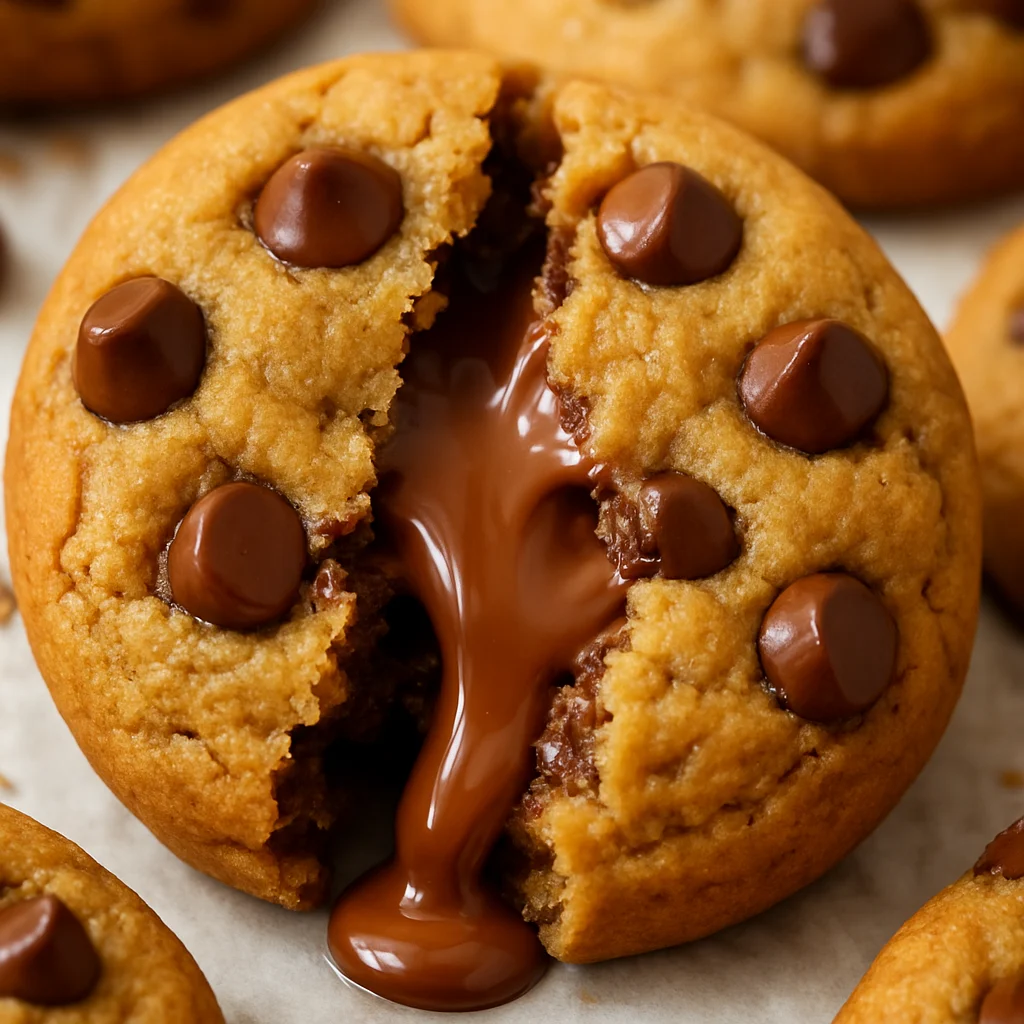
Each bite offers that signature shatteringly crisp caramelized sugar top giving way to a buttery, vanilla-rich cookie beneath. The contrast is simply divine. That iconic “crack” moment we all cherish from traditional crème brûlée? It’s here, in a cookie that fits in the palm of your hand.
I’m about to guide you through creating what will surely become your new signature dessert. Don’t be intimidated by the fancy name or the blow torch (yes, we’re getting that authentic) – I’ve broken everything down into simple steps that guarantee success. Get ready to create a truly spectacular treat that marries the best of French patisserie with the comfort of a homemade cookie.
Why These Crème Brûlée Cookies are a Game-Changer
- Iconic “Crack”: There’s nothing quite like that satisfying shatter of burnt sugar with each bite
- Rich Custard Flavor: The cookie base itself channels the creamy vanilla essence of classic crème brûlée
- Unique & Impressive: These are true conversation starters that will have everyone asking for the recipe
- Surprisingly Doable: What seems complex becomes manageable with my step-by-step guidance
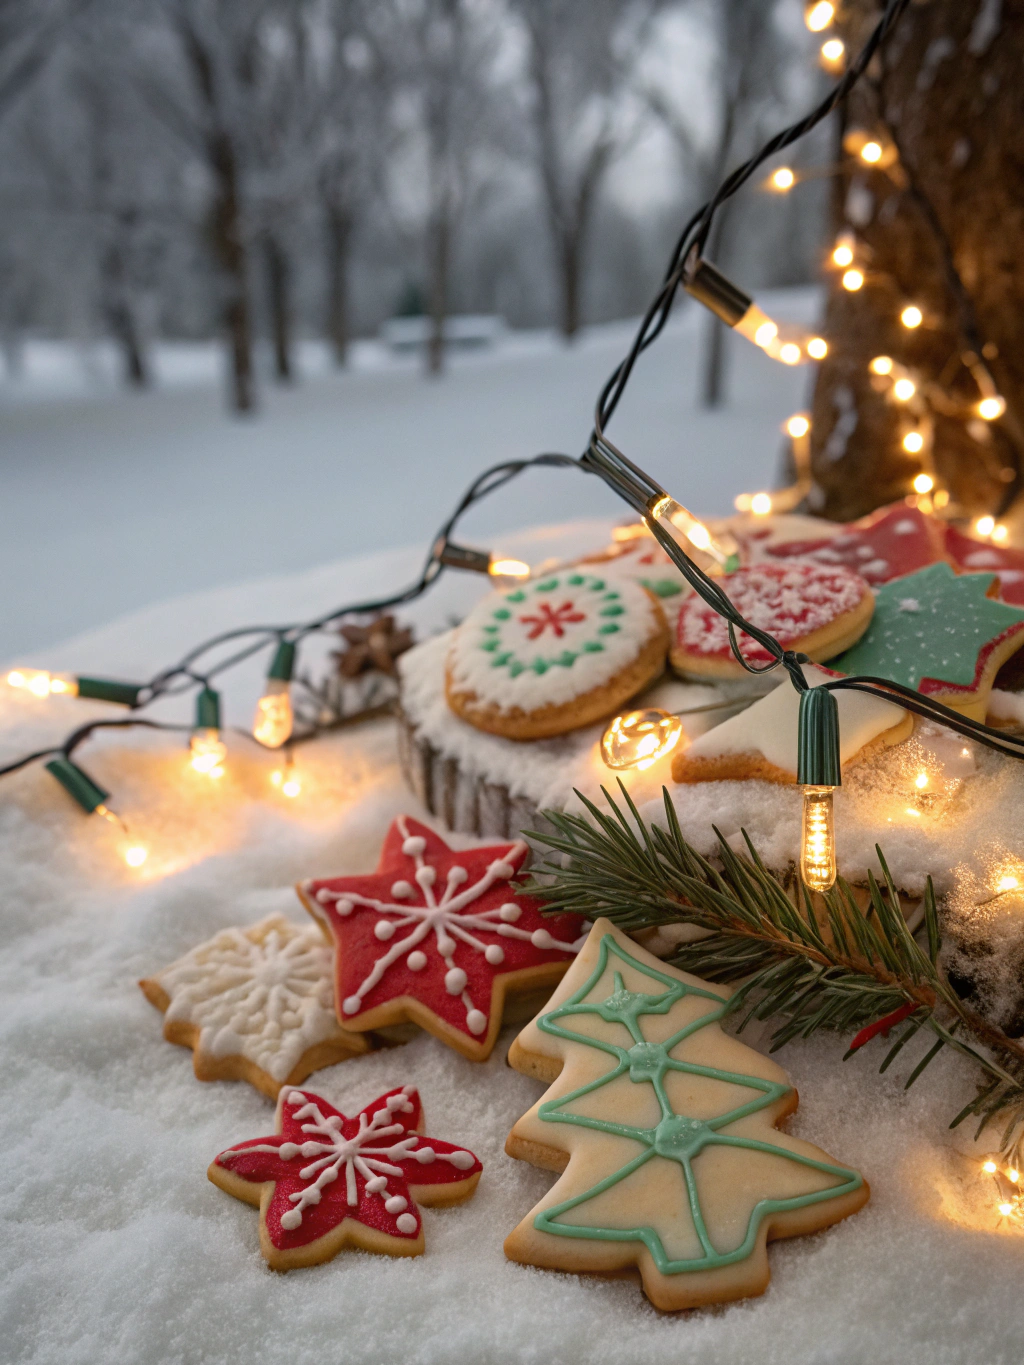
- Perfect for Special Occasions: Elevate any dessert table from dinner parties to holiday gatherings
- Fun to Make (and Brûlée!): The torching part is immensely satisfying—culinary therapy at its finest
I’ve been perfecting this recipe for months, and I’m thrilled to finally share it with you. The first time I served these at a dinner party, my guests literally gasped when they broke through that amber sugar crust. That’s the kind of dessert memory you can’t forget.
Crème Brûlée Cookies Recipe Overview
Baking Time and Nutrition Facts
24 Cookies
45 Minutes
12 Minutes
157 Kcal
8.5g
2g
9g
60 Minutes
Essential Equipment:
- Parchment paper or silicone baking mats
- Electric mixer (stand or hand)
- Mixing bowls
- Cookie scoop (for uniform cookies)
- Kitchen torch/blow torch
- Measuring cups and spoons
- Wire cooling rack
Crème Brûlée Cookies Ingredients
Key Ingredients
- For the Vanilla Bean Cookie Base:
1 cup (226g) unsalted butter, softened
¾ cup (150g) granulated sugar
3 egg yolks (yes, extra yolks for that true custard richness!)
2 teaspoons vanilla bean paste (crucial for authentic flavor) OR 1 tablespoon high-quality vanilla extract
2¼ cups (281g) all-purpose flour, spooned and leveled
2 tablespoons cornstarch (for that tender, melt-in-your-mouth quality)
½ teaspoon baking powder
¼ teaspoon salt
- For the Brûlée Topping:
⅓ cup (67g) granulated sugar (fine or caster sugar works best for even melting)
Chef Tip: Don’t skip the vanilla bean paste if possible—those tiny flecks of real vanilla bean make all the difference, both visually and in flavor complexity. This is what gives your cookies that authentic “custard” profile.
Creating Your Crème Brûlée Cookie Masterpieces
Step 1: Make the Cookie Dough
Instructions
- In a large bowl, cream together the softened butter and sugar until light and fluffy, about 3 minutes. Don’t rush this step—the air incorporated here creates wonderful texture.
- Add the egg yolks one at a time, beating well after each addition. This creates that rich, custard-like base we’re aiming for.
- Beat in the vanilla bean paste until fully incorporated. Pause to admire those beautiful specks of vanilla bean!
- In a separate bowl, whisk together the flour, cornstarch, baking powder, and salt.
- Gradually add the dry ingredients to the wet ingredients, mixing on low speed just until combined. Chef Tip: Overmixing will develop the gluten and make your cookies tough rather than tender—we want to maintain that delicate crème brûlée essence.
- Cover the dough and chill for 30 minutes. This firms up the butter and ensures your cookies won’t spread too much during baking.
Step 2: Shape & Bake the Cookies
Instructions
- Preheat your oven to 350°F (175°C) and line baking sheets with parchment paper or silicone mats.
- Using a cookie scoop (about 1½ tablespoons), portion the dough into balls and place on the prepared baking sheets, leaving about 2 inches between cookies.
- Slightly flatten each ball with your palm or the bottom of a glass to create a disc about ½-inch thick. This creates the perfect surface for our brûlée topping later.
- Bake for 10-12 minutes, or until the edges are just barely turning golden but the centers still look slightly underbaked. Chef Tip: This slight underbaking is intentional—it ensures a softer, more “custard-like” interior that mimics the texture of actual crème brûlée.
- Allow cookies to cool on the baking sheet for 5 minutes before transferring to a wire rack to cool completely.
Step 3: The Brûlée Process
Instructions
- Ensure cookies are completely cool before beginning the brûlée process. Patience here is key!
- Arrange your cooled cookies on a heatproof surface. If you’re using a baking sheet, make sure it’s clean and dry.
- Using a small sifter or spoon, apply an even, thin layer of granulated sugar over the top of each cookie. The layer should be thin enough to see the cookie beneath, but complete enough to create a solid caramel crust. Think of dusting a cappuccino with cocoa—aim for that level of coverage.
- Using a Kitchen Torch (recommended method):
▸ Hold your torch about 3-4 inches away from the cookie surface
▸ Light according to manufacturer’s instructions
▸ Move the flame continuously in small circular motions over the sugar
▸ Watch as the sugar melts, bubbles, and then transforms into a gorgeous amber caramel
▸ Don’t hold the flame too long in one spot—keep it moving!
SAFETY FIRST: Always point the torch away from yourself, others, and anything flammable. - Using an Oven Broiler (alternative method):
▸ Position an oven rack in the top position
▸ Preheat your broiler to high
▸ Place cookies on a baking sheet on the top rack
▸ Watch them like a hawk! We’re talking seconds here, not minutes
▸ Rotate the pan for even caramelization
Chef Tip: This method is riskier and less controlled—the sugar can burn very quickly and cookies can warm up too much, compromising texture - Allow the caramelized sugar to cool and harden for 3-5 minutes. During this time, the magic happens—that sugar transforms into a glassy, shatteringly crisp top that makes the signature “crack” when broken.
Tips for Crème Brûlée Cookie Perfection
- Temperature matters: Cookies must be completely cool before applying sugar and torching. Warm cookies will absorb the sugar, preventing proper caramelization.
- Sugar application: Too much sugar creates a bitter, overly thick crust; too little won’t give you that satisfying crack. Aim for a thin, even layer that just covers the surface.
- Torch technique: Hold the torch at an angle rather than directly perpendicular to the cookie. This creates more even caramelization with less risk of burning.
- Perfect color: Look for a deep amber color, not dark brown or black. If the sugar starts to smoke, you’ve gone too far.
- Timing is everything: Plan to brûlée these cookies shortly before serving. While the cookie itself keeps well, the magic of that freshly torched sugar top diminishes with time.
- Room temperature ingredients: Especially for the butter and eggs—this ensures proper incorporation and the best final texture.
Flavor Variations to Explore
Want to put your own spin on these magnificent cookies? Here are some inspired variations:
- Citrus Crème Brûlée Cookies: Add 1 tablespoon of fresh orange or lemon zest to the cookie dough for a bright, aromatic twist.
- Salted Caramel Crème Brûlée Cookies: Sprinkle a tiny pinch of flaky sea salt on the brûléed top immediately after torching while the caramel is still warm.
- Coffee Crème Brûlée Cookies: Dissolve 1-2 teaspoons of espresso powder in the vanilla before adding to the dough for a sophisticated coffee-infused version.
- Spiced Crème Brûlée Cookies: Add ¼ teaspoon of cinnamon or cardamom to the dough for a subtle warmth that complements the vanilla beautifully.
Storing your Crème Brûlée Cookies
The most important thing to understand about these cookies: they are at their absolute peak when freshly brûléed. That contrast between the warm, freshly hardened caramel and the cool, tender cookie beneath is nothing short of extraordinary.
For the optimal experience:
- Bake cookies up to 2 days ahead and store in an airtight container
- Brûlée the tops just before serving (perhaps even at the table for a dramatic presentation!)
- Serve within 30 minutes of torching for that perfect crack
If you must store after brûléeing:
- Keep in a single layer in an airtight container at room temperature
- Be aware that the humidity from the cookies will gradually soften the caramelized top within a few hours
- They’ll still be delicious—just less “crack” and more “gentle crunch”
FAQs About Crème Brûlée Cookies
My sugar topping is uneven or patchy. What happened?
This usually happens when the sugar layer isn’t even or when some areas get more heat than others. Try sifting the sugar for more even application and keep your torch moving constantly.
Can I make these without a kitchen torch?
Yes, you can use your oven’s broiler, but do so with extreme caution. Watch the cookies continuously, as they can go from perfect to burnt in seconds. The results won’t be quite as controlled as with a torch.
My sugar burned instead of caramelizing! Help!
This is often due to holding the flame too close or in one spot for too long. Keep your torch moving and hold it a bit further away next time. Start with a few practice cookies to get the feel for it.
How far in advance can I make the cookie dough?
The dough can be refrigerated for up to 3 days or frozen for up to 3 months. If frozen, thaw overnight in the refrigerator before baking.
Is vanilla bean paste really necessary?
While you can substitute with vanilla extract, vanilla bean paste provides both concentrated flavor and those beautiful specks that visually signal “real vanilla custard.” In a recipe centered around vanilla flavor, it makes a noticeable difference.
Ready To Bake ??
These Magical Crème Brûlée Cookies truly represent the best of both worlds—the comforting familiarity of a homemade cookie with the sophisticated elegance of a classic French dessert. There’s something undeniably exciting about transforming a restaurant-quality dessert experience into something you can create in your own kitchen.
I hope you’ll embrace this baking adventure with the same enthusiasm I had developing it. That moment when your kitchen torch kisses the sugar and transforms it into golden caramel? Pure magic.
Have you tried making these spectacular cookies? I’d love to see your creations and hear about your brûléeing triumphs! Share your photos in the comments below, and don’t forget to pin this recipe for your next special occasion. These cookies are simply too extraordinary not to share!
Happy baking, and even happier torching!