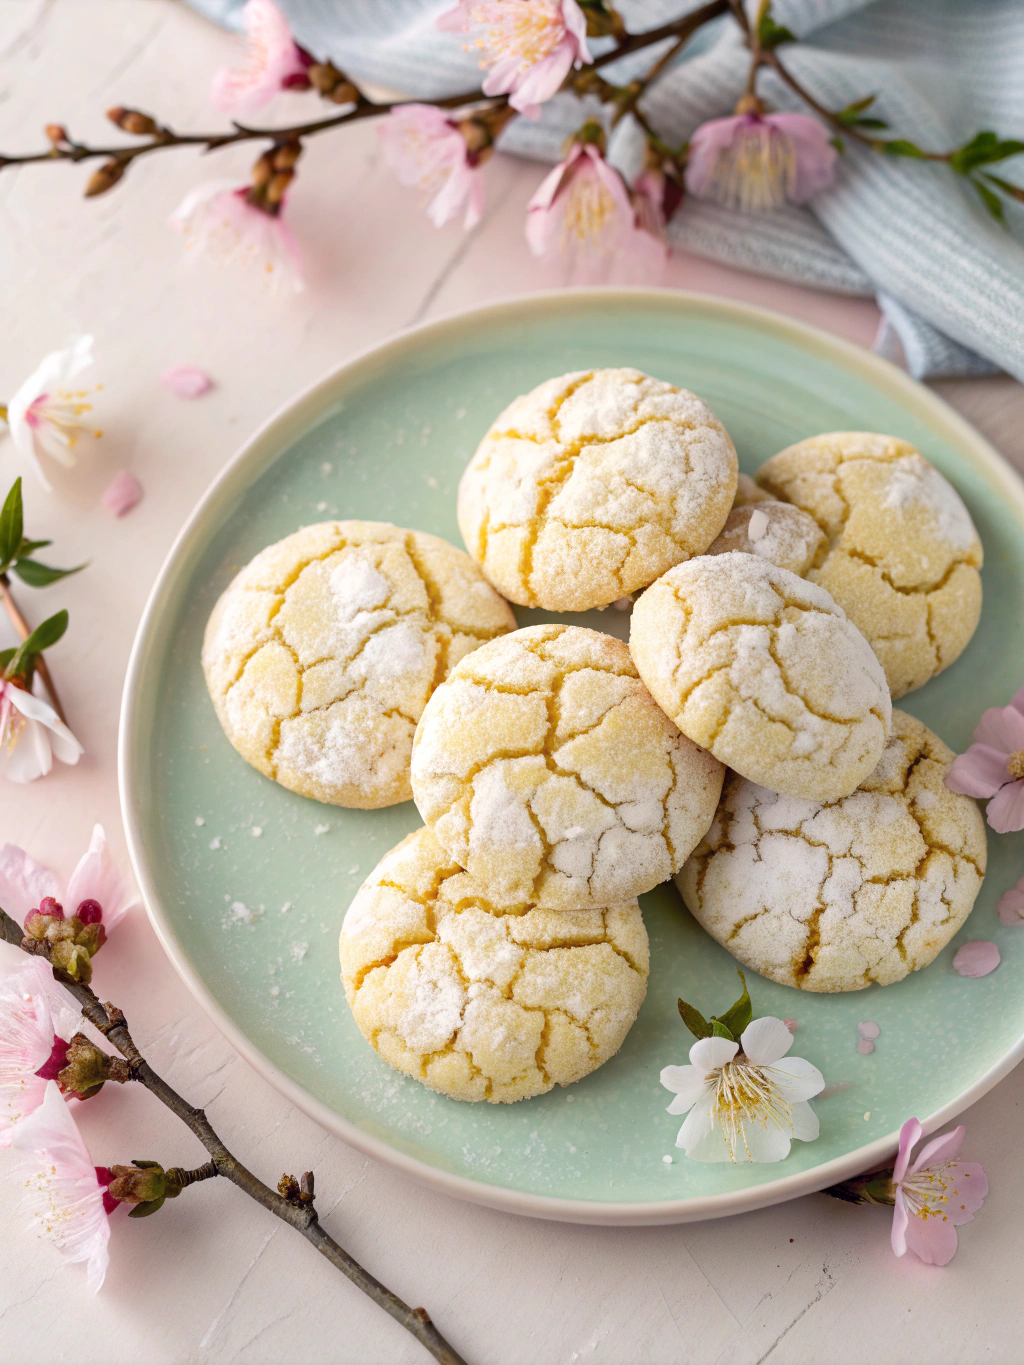
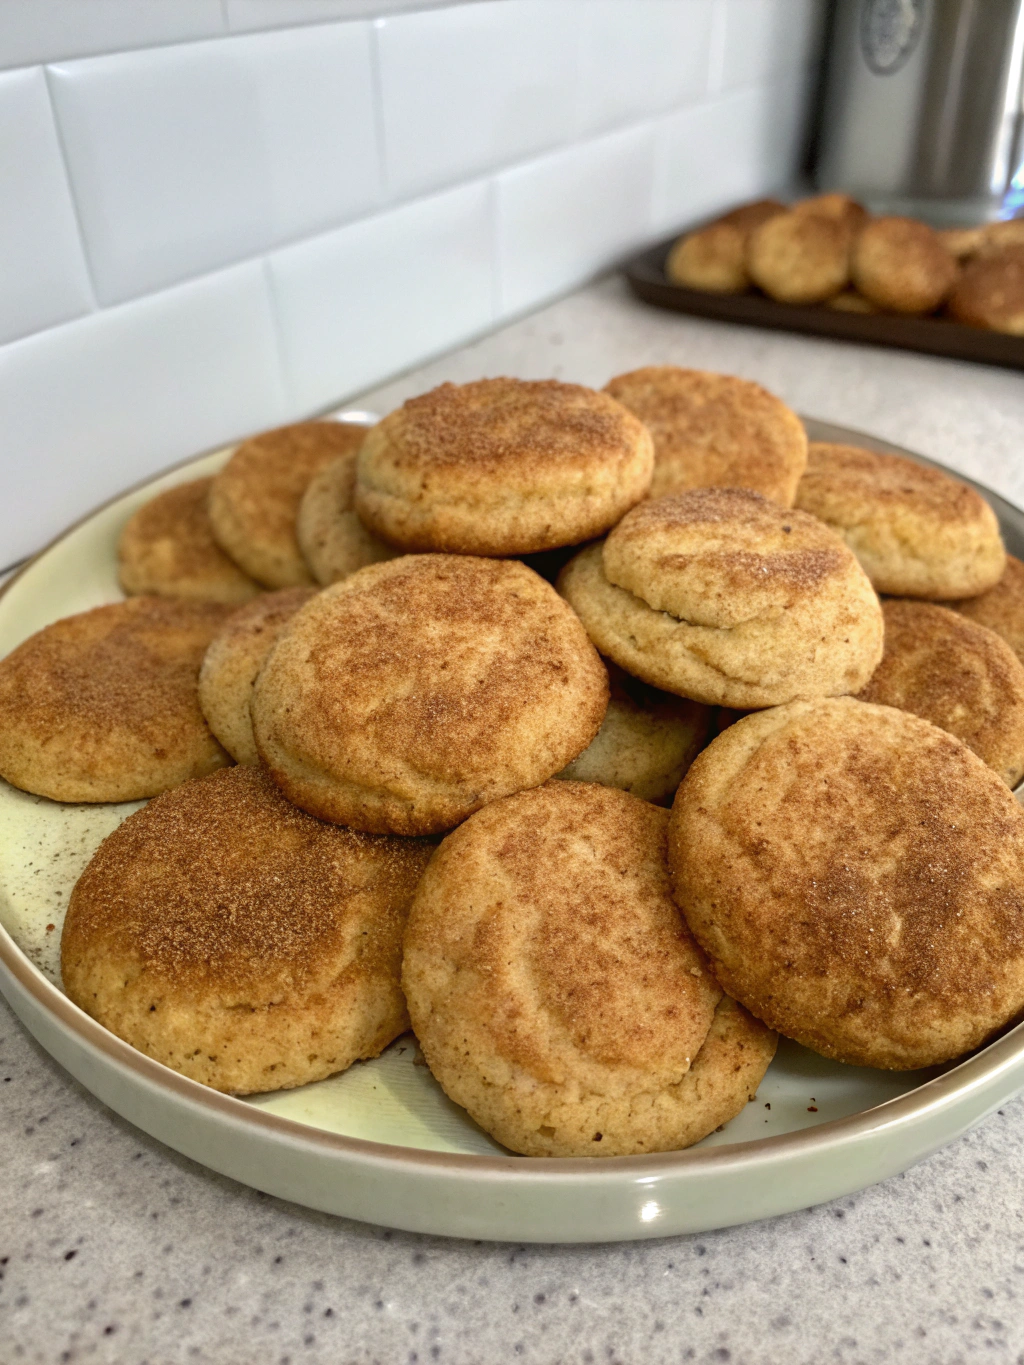
Soft & Chewy Snickerdoodle Cookies
After perfecting this recipe through countless batches and understanding every nuance of the process, I promise you this: you will never need another snickerdoodle recipe again.
Snickerdoodle Cookies Recipe Overview
Baking Time and Nutrition Facts
24 Cookies
20 Minutes
10 Minutes
1h20minutes
Snickerdoodle Cookies Ingredients
Key Ingredients
- For the Cookie Dough:
375g (3 cups) all-purpose flour – provides structure without heaviness
2 teaspoons cream of tartar – the non-negotiable star ingredient (more on this below!)
1 teaspoon baking soda – works with cream of tartar for perfect leavening
1 teaspoon fine salt – enhances all the flavors beautifully
298g (1½ cups) granulated sugar – creates that essential tender crumb
2 teaspoons pure vanilla extract – because quality matters in simple recipes
2 large eggs, room temperature – for richness and binding
- For the Cinnamon-Sugar Coating:
50g (¼ cup) granulated sugar – for that sparkly exterior
1 tablespoon ground cinnamon – use the best quality you can find for maximum impact
How To Make Snickerdoodle Cookies
Instructions
- Preparing Your Workspace and Cinnamon-Sugar Coating
Begin by positioning your oven racks in the upper and lower thirds of your oven. In a small bowl, whisk together the ¼ cup granulated sugar and cinnamon until evenly distributed. Set this magical mixture aside – it’s going to create that show-stopping exterior we’re after. - Creating the Foundation – Making Your Cookie Dough
In a medium bowl, whisk together your flour, cream of tartar, baking soda, and salt. This is your dry ingredient foundation, and whisking ensures even distribution of those crucial leavening agents.
In the bowl of your stand mixer fitted with the paddle attachment, cream the softened butter and 1½ cups granulated sugar on medium speed for 3-4 minutes. You’re looking for a mixture that’s noticeably lighter in color and fluffy in texture – this incorporates air that will contribute to your cookies’ tender crumb.
Beat in the eggs one at a time, ensuring each is fully incorporated before adding the next. Pour in that gorgeous vanilla extract and mix until combined.
Now comes a crucial moment: reduce your mixer speed to low and gradually add your flour mixture. Mix only until the flour just disappears into the dough. Overmixing develops gluten, which leads to tough cookies – and we’re after pillowy perfection here! - The Critical Step – Chilling Your Dough
Here’s where many bakers go wrong, and I’m going to save you from that mistake: chilling is absolutely non-negotiable. Cover your dough tightly with plastic wrap and refrigerate for at least 30 minutes, though 60 minutes is even better.
Why is this so crucial? Chilling solidifies the butter, which prevents excessive spreading during baking. It also allows the flour to fully hydrate and the flavors to meld beautifully. Trust me on this – it’s the difference between flat disappointment and puffy perfection. - Shaping and Coating Your Cookies
Preheat your oven to 190°C (375°F). Line your baking sheets with fresh parchment paper.
Using your cookie scoop, portion the chilled dough into uniform balls. Roll each portion between your palms to create smooth spheres – this attention to detail creates even baking and professional-looking results.
Now for the fun part: roll each dough ball generously in your cinnamon-sugar mixture, ensuring complete coverage. Don’t be shy here – that coating creates the signature crackled appearance as the cookies puff up in the oven.
Place the coated dough balls on your prepared baking sheets, spacing them about 5cm (2 inches) apart. They’ll spread just enough to create those perfectly tender edges. - Baking to Perfection
Bake for 8-10 minutes, rotating the pans halfway through for even browning. Here’s what you’re looking for: the cookies should appear set around the edges and puffed in the center, but still look slightly soft in the middle. They might seem underdone, but they’ll continue cooking on the hot pan after removal.
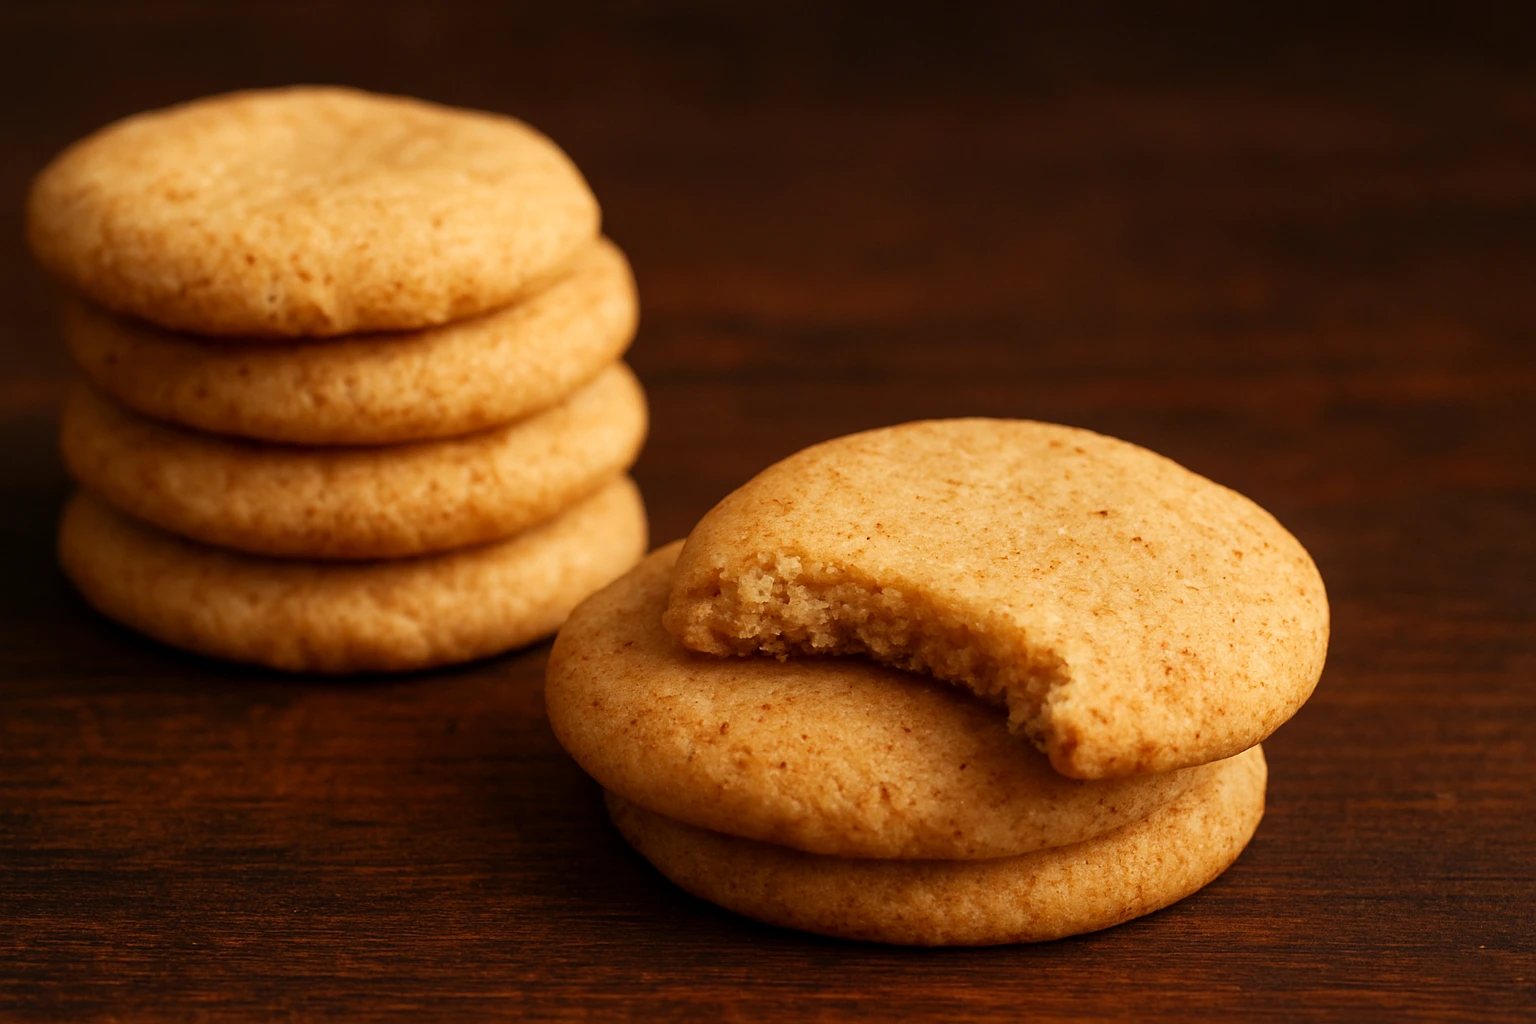
Let the cookies rest on the baking sheet for 5 minutes before transferring to wire racks. This brief rest allows them to set properly while maintaining that coveted chewy texture.
Secrets to Snickerdoodle Cookies Success
The Cream of Tartar Deep Dive
Let’s talk about the star of this show: cream of tartar. This magical white powder serves two critical functions that make snickerdoodles truly special.
First, it’s a leavening powerhouse. When cream of tartar (an acid) meets baking soda (a base) in the presence of moisture and heat, it creates carbon dioxide gas. This reaction gives our cookies that gorgeous puffed appearance and light texture.
Second, it provides that signature tangy flavor that distinguishes authentic snickerdoodles from ordinary cinnamon-sugar cookies. That subtle tartness cuts through the sweetness and creates the complex flavor profile that makes these cookies absolutely irresistible.
The Importance of “Room Temperature” Butter
When I say “room temperature butter,” I mean butter that yields to gentle pressure but still holds its shape. It should be cool to the touch, not greasy or melty. Properly softened butter creams beautifully with sugar, incorporating air that contributes to your cookies’ tender crumb.
Pro tip: If you’ve forgotten to soften your butter, cut it into small cubes and let it sit for 15-20 minutes. Never microwave butter to soften it – you’ll get uneven melting that compromises your dough’s structure.
Don’t Overmix Your Flour
Once you add the flour mixture to your creamed butter and sugar, treat it gently. Mix only until the flour just disappears into the dough. Overmixing develops gluten strands, which create tough, chewy cookies instead of the tender perfection we’re after.
The Secret to That Crackly Top
That gorgeous crackled appearance happens when the dough puffs up in the oven, causing the cinnamon-sugar coating to crack and create those beautiful fissures. Proper chilling and the cream of tartar-baking soda reaction are key to achieving this stunning effect.
A Note on Substitutions
I’m often asked about substituting cream of tartar with baking powder. While you can make cinnamon cookies this way, they won’t be true snickerdoodles. You’ll miss both the distinctive tangy flavor and the specific texture that makes these cookies special. For authentic snickerdoodles, cream of tartar is simply irreplaceable.
Storing Your Snickerdoodle Cookies
Your beautiful snickerdoodles are at their absolute peak within the first 2-3 days, when they maintain that perfect balance of crispy exterior and chewy center.
Short-term Storage
Store cooled cookies in an airtight container at room temperature. Here’s a professional trick: place a slice of bread in the container with your cookies. The bread will gradually give up its moisture to keep your cookies perfectly chewy.
Long-term Storage
Freezing baked cookies: Layer cookies between parchment paper in an airtight container and freeze for up to 3 months. Thaw at room temperature.
Freezing unbaked dough: This is my favorite option for fresh cookies anytime! Shape the dough into balls, coat with cinnamon sugar, and freeze on a baking sheet. Once solid, transfer to freezer bags. Bake directly from frozen, adding 1-2 extra minutes to the baking time.
Troubleshooting Common Issues
Why Are My Snickerdoodles Flat?
Most common causes:
- Skipping the chilling step
- Using melted or too-soft butter
- Old or inactive baking soda
- Overmixing the dough
My Cookies Are Too Hard
Likely culprits:
- Overbaking (they should look slightly underdone when removed)
- Too much flour (always measure by weight when possible)
- Overmixing the dough
Can I Make Snickerdoodles Without Cream of Tartar?
While you can make cinnamon cookies without it, you won’t achieve the authentic snickerdoodle flavor and texture. The cream of tartar is what makes these cookies special and irreplaceable.
A Sweet Conclusion
Congratulations! You’ve just mastered one of America’s most beloved cookie classics with true pastry chef precision. These aren’t just any snickerdoodles – they’re the platonic ideal of what a snickerdoodle should be: perfectly puffy, irresistibly chewy, and blessed with that signature tangy-sweet flavor that keeps people coming back for more.
The beauty of baking lies not just in the delicious results, but in the joy of creating something wonderful with your own hands. Every time you pull a batch of these golden, crackle-topped beauties from your oven, you’re continuing a tradition that has brought comfort and happiness to countless kitchens.
Now, here’s your mission: preheat that oven, gather your ingredients, and create some absolutely magical memories. Whether you’re baking for your family, friends, or just treating yourself to something special, these snickerdoodles are guaranteed to bring smiles and maybe even a few happy tears.
Trust the process, embrace the science, and get ready to become the person everyone calls when they’re craving the world’s most perfect snickerdoodle cookies. Your kitchen is about to become the most popular destination in the neighborhood!