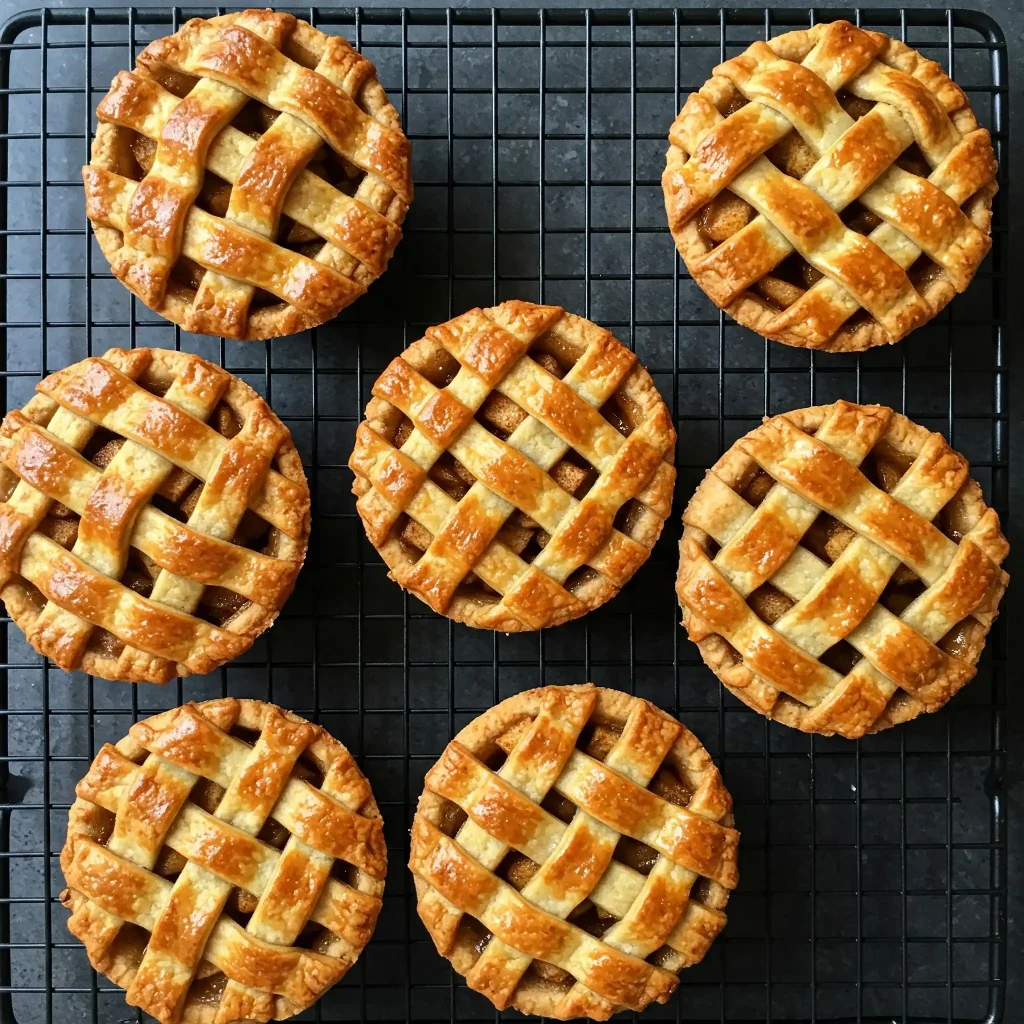
Rustic Apple and Pear Hand Pies
These Rustic Apple and Pear Hand Pies capture the essence of fall baking, combining the sweet-tart symphony of seasonal fruits with the comforting embrace of buttery pastry.
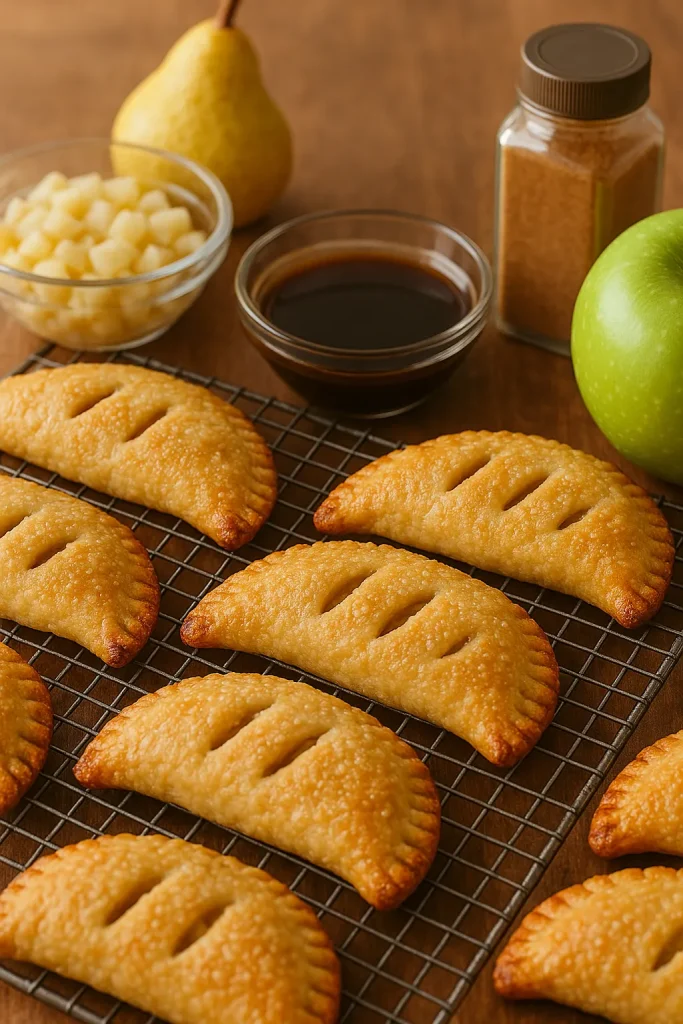
Unlike their full-sized cousins, these portable treasures offer the perfect ratio of crust to filling in every bite. They’re a nod to the centuries-old tradition of portable pies found across cultures – from Cornish pasties to empanadas – yet with a distinctly autumnal twist that celebrates the harvest season’s finest offerings.
Whether you’re packing them for an afternoon picnic, tucking them into lunchboxes, or serving them alongside steaming mugs of cider on a crisp evening, these apple and pear hand pies promise rustic charm and homemade goodness that store-bought versions simply can’t match.
Why You’ll Adore These Apple and Pear Hand Pies
- Perfectly Flaky Pastry: Learn the secrets to achieving that ideal buttery, multilayered crust that shatters beautifully with each bite
- Delicious Spiced Apple-Pear Filling: The marriage of apples and pears creates a complex sweetness enhanced by warm spices
- Charmingly Rustic & Portable: No plates or forks needed – these hand-held treasures are perfect for gatherings or on-the-go treats
- Seasonal Fruit Showcase: Celebrate fall’s bounty with a recipe that lets orchard-fresh flavors shine
- Easier Than a Full Pie: Achieve pie perfection without the fuss of crimping edges or serving slices
The magic of these homemade hand pies lies in the balance – a sturdy yet tender pastry that holds its shape while remaining delicate, encasing a filling that’s neither too wet nor too dry, with fruit that maintains its integrity rather than dissolving into sauce. With the detailed steps below, you’ll achieve this perfect harmony every time.
Rustic Apple and Pear Hand Pies Recipe Overview
Baking Time and Nutrition Facts
14 Pies
45 Minutes
30 Minutes
3h 45Minutes
2h 30 Minutes
16g
15g
285kcal
Equipment Needed
- Mixing bowls
- Measuring cups and spoons
- Rolling pin
- Round cookie/biscuit cutter
- Pastry brush
- Wire cooling rack
Rustic Apple and Pear Hand Pies Ingredients
Key Ingredients
- For the Flaky Pastry:
2½ cups (313g) all-purpose flour
1 tablespoon granulated sugar
1 teaspoon salt
1 cup (226g) unsalted butter, VERY COLD and cubed
¼ to ½ cup (60-120ml) ice water
1 tablespoon apple cider vinegar (mixed into your ice water)
- For the Apple-Pear Filling:
2 medium firm apples (Honeycrisp, Granny Smith, or Braeburn work beautifully)
2 medium firm pears (Bosc or Anjou are ideal)
2 tablespoons fresh lemon juice
⅓ cup (67g) granulated sugar
¼ cup (50g) light brown sugar, packed
2 tablespoons cornstarch
1 teaspoon ground cinnamon
¼ teaspoon ground nutmeg
¼ teaspoon ground ginger
Pinch of cardamom (optional)
¼ teaspoon salt
1 tablespoon butter, cut into small pieces
- For Assembly:
1 large egg (for egg wash)
1 tablespoon water
2 tablespoons coarse sugar for sprinkling (optional)
How To Make Rustic Apple and Pear Hand Pies
Crafting the Flaky Pastry
Instructions
- Prepare Your Ingredients: Measure flour, sugar, and salt into a large bowl. Whisk to combine. Cut your butter into ½-inch cubes and place them back in the refrigerator until needed. Mix apple cider vinegar with ice water and keep cold.
- Cut the Butter: Add the cold butter cubes to your flour mixture. Using a pastry blender, two knives, or your fingertips, work quickly to cut the butter into the flour until you have a mixture with pea-sized pieces. Some larger butter flakes are good – they create those desirable flaky layers!
- Add Ice Water Gradually: Drizzle 2 tablespoons of the cold water-vinegar mixture over the flour-butter mixture. Using a fork, gently toss to combine. Continue adding water one tablespoon at a time, tossing after each addition, just until the dough begins to come together. You’ll know it’s ready when a small amount pressed between your fingers holds together without being wet or sticky.
- Form Dough Discs: Turn the dough onto a lightly floured surface. With minimal handling, gather the dough and divide it into two equal portions. Shape each into a 1-inch thick disc. Wrap tightly in plastic wrap.
- Chill Thoroughly: Refrigerate the dough for at least 2 hours, preferably overnight. This resting period is non-negotiable – it allows the gluten to relax and the butter to re-solidify, ensuring your pastry will be flaky rather than tough.
Perfecting the Apple-Pear Filling
Instructions
- Prepare the Fruit: Peel, core, and dice the apples and pears into ¼-inch cubes. Consistent sizing ensures even cooking. Immediately toss the fruit with lemon juice in a large bowl to prevent browning.
- Mix Dry Ingredients: In a separate bowl, whisk together the granulated sugar, brown sugar, cornstarch, cinnamon, nutmeg, ginger, optional cardamom, and salt until well combined.
- Combine and Cook: Add the sugar-spice mixture to the fruit, tossing gently until evenly coated. Transfer to a medium saucepan and cook over medium heat for about 5-7 minutes, stirring frequently, until the fruits just begin to soften and release their juices, and the mixture thickens slightly.
- Finish the Filling: Remove from heat, stir in the small butter pieces until melted, then spread the filling onto a baking sheet or shallow dish to cool completely. This pre-cooking step is crucial – it ensures your filling won’t release too much liquid during baking, preventing the dreaded soggy bottom.
Assembling Your Hand Pies
Instructions
- Prepare for Assembly: Line two baking sheets with parchment paper. Whisk the egg with 1 tablespoon water to create an egg wash. Remove one disc of dough from the refrigerator (keeping the second one chilled until needed).
- Roll the Dough: On a lightly floured surface, roll the dough to about ⅛-inch thickness. Work from the center outward, rotating the dough occasionally to prevent sticking.
- Cut Circles: Using a 4-5 inch round cutter or inverted bowl as a template, cut as many circles as possible. Re-roll scraps once to cut additional circles.
- Fill the Pies: Place about 2 tablespoons of the cooled filling slightly off-center on each round, leaving a ¾-inch border. Be careful not to overfill – excess filling will leak during baking.
- Seal the Edges: Brush the edges lightly with egg wash. Fold the dough over to create a half-moon shape. Press the edges firmly to seal, then crimp with the tines of a fork. This double-sealing method helps prevent leaks.
- Vent and Finish: Transfer the sealed pies to the prepared baking sheets. Using a small knife, cut 2-3 small slits in the top of each pie (these vents are essential to release steam during baking). Brush the tops with egg wash and sprinkle with coarse sugar if desired.
- Chill Before Baking: Place the assembled pies in the refrigerator for 15-20 minutes while you preheat the oven. This final chill ensures the butter in the pastry is cold, which is crucial for flakiness.
Baking to Golden Perfection
Instructions
- Preheat: Set your oven to 375°F (190°C) with racks positioned in the upper and lower thirds.
- Bake: Place the chilled pies in the oven and bake for 25-30 minutes, rotating the baking sheets halfway through, until the pies are deeply golden brown and you can see a bit of bubbling through the vents.
- Cool Properly: Allow the pies to cool on the baking sheets for 5 minutes, then transfer to a wire rack. Let them cool for at least 15 minutes before serving – the filling inside is extremely hot and needs time to set.
Tips for Perfect Rustic Apple and Pear Hand Pies
Flaky Pastry 101
- Temperature is Everything: Cold butter = flaky crust. If at any point your dough feels warm or the butter seems soft, pause and refrigerate it for 15 minutes.
- Minimal Handling: Every touch warms the dough and develops gluten. Use a light touch and work quickly.
- The Water Balance: Too little water makes a crumbly dough; too much creates a tough crust. Add just enough for the dough to come together.
- Vinegar is Magic: The acid in apple cider vinegar helps inhibit gluten formation and contributes to tenderness.
No More Soggy Bottoms
- Pre-cooking Strategy: Partially cooking the filling evaporates excess moisture and activates the thickener.
- Complete Cooling: Never add warm filling to pastry – it will immediately start melting the butter in your dough.
- Bottom Rack Trick: For extra insurance against soggy bottoms, start baking on the bottom rack for the first 10 minutes.
- Proper Thickener: Cornstarch works beautifully with apples and pears, creating a silky texture without clouding the flavor.
Seal the Deal
- Double Security: The egg wash helps “glue” the edges together, while fork crimping provides a mechanical seal.
- Don’t Overfill: It’s tempting to pack in more filling, but restraint pays off with perfectly sealed pies.
- Clean Edges: Ensure no filling touches the edges when sealing – even a small amount can prevent a proper seal.
Venting Vital
- Steam Escape: Those little slits aren’t decorative – they’re crucial for allowing steam to escape and preventing burst pies.
- Size Matters: Make vents that are large enough to function but not so large that filling bubbles out excessively.
Fruit Focus: Choosing Your Apples & Pears
The perfect hand pie filling requires fruits that maintain their structure during baking while delivering robust flavor. For apples, firm varieties with a balance of sweetness and acidity work best:
- Honeycrisp: Offers the ideal sweet-tart balance with excellent texture retention
- Granny Smith: Provides tartness that balances the sweetness of pears and sugar
- Braeburn: Delivers complex flavor with hints of spice and excellent baking stability
For pears, choose varieties that won’t turn to mush:
- Bosc: Firm, dense flesh with a honey-sweet flavor that intensifies when baked
- Anjou: Maintains its shape well with subtle sweetness and buttery texture
- Concorde: Less common but excellent for baking with vanilla-like undertones
A combination of two different varieties (one apple, one pear) creates the most interesting and complex flavor profile.
Simple Glaze & Serving Ideas
While these hand pies are delicious unadorned, a simple glaze can elevate them to bakery-quality status:
Basic Vanilla Glaze:
- 1 cup (120g) powdered sugar
- 1-2 tablespoons milk or cream
- ½ teaspoon vanilla extract
- Pinch of salt
Whisk ingredients together until smooth, adding liquid gradually until you reach drizzling consistency. Drizzle over completely cooled pies.
Serving Suggestions:
- Serve warm pies with a scoop of vanilla ice cream for a decadent dessert
- Drizzle with warm caramel sauce for an extra layer of autumn flavor
- For breakfast, pair with Greek yogurt for a sweet-tangy contrast
- Serve alongside a sharp cheddar cheese for a classic apple pie companion
- For afternoon tea, dust with powdered sugar instead of glaze
How To Store Your Rustic Apple and Pear Hand Pies
Hand pies are at their flaky best on the day they’re baked, but proper storage can extend their enjoyment:
- Counter Storage: Keep in an airtight container at room temperature for up to 2 days.
- Refrigeration: Store in the refrigerator for up to 5 days, though the crust will soften somewhat.
- Freezing Baked Pies: Freeze completely cooled pies in a single layer, then transfer to a freezer container with parchment between layers. Freeze for up to 3 months. Reheat frozen pies in a 325°F oven for 15-20 minutes until warmed through.
- Freezing Unbaked Pies: Freeze assembled pies (before egg wash) on a baking sheet until solid, then wrap individually and store in a freezer container. Bake directly from frozen, adding 5-7 minutes to the baking time, and apply egg wash just before baking.
- Refreshing Day-Old Pies: Warm in a 325°F oven for 5-10 minutes to re-crisp the crust.
FAQs About Rustic Apple and Pear Hand Pies
Q: Can I use store-bought pie dough? A: Absolutely! While homemade pastry offers superior flavor and texture, refrigerated pie crusts work in a pinch. For best results, look for all-butter varieties and still follow the chilling steps before and after assembly.
Q: Why did my filling leak out during baking? A: This typically happens when: 1) The edges weren’t sealed properly, 2) The pies were overfilled, 3) There weren’t enough vents to release steam, or 4) The assembled pies weren’t chilled before baking.
Q: My crust is pale and soggy on the bottom. What went wrong? A: This could be due to: 1) Filling that was too wet, 2) Oven temperature that was too low, 3) Insufficient pre-baking chilling, or 4) Baking time that was too short. Try baking on a preheated baking sheet or starting on the lowest rack.
Q: Can I use different fruits in this recipe? A: Definitely! This recipe works beautifully with many fruit combinations. Just adjust the thickener based on the juiciness of your fruit – berries and stone fruits typically need more thickener than apples and pears.
Q: Do I really need to pre-cook the filling? A: While you can use raw fruit, pre-cooking helps control moisture and ensures properly cooked fruit with the right consistency. If using raw fruit, macerate it with sugar and drain excess juice before filling the pies.
Q: Can I make the components ahead of time? A: Yes! The pastry dough can be refrigerated for up to 3 days or frozen for 3 months. The cooled filling can be refrigerated for up to 3 days. Assemble just before baking for best results.
A Lasting Tradition
There’s something deeply satisfying about creating hand pies from scratch – the methodical rolling of dough, the aromatic filling bubbling on the stove, the careful crimping of edges, and finally, that moment when golden-brown treasures emerge from the oven. These rustic apple and pear hand pies aren’t just dessert; they’re a connection to the timeless tradition of transforming simple ingredients into portable comfort.
As the seasons shift and markets fill with crisp apples and fragrant pears, these rustic hand pies offer the perfect way to celebrate nature’s bounty while creating memories around your kitchen table. The beauty of hand pies lies in their forgiving nature – even imperfect shapes and the occasional leak create that charming homemade character that no factory-made dessert can replicate.
What fall fruit combinations are you excited to try in your hand pies? I’d love to hear how these turn out for you – share your creations and tag me on social media! Happy baking!