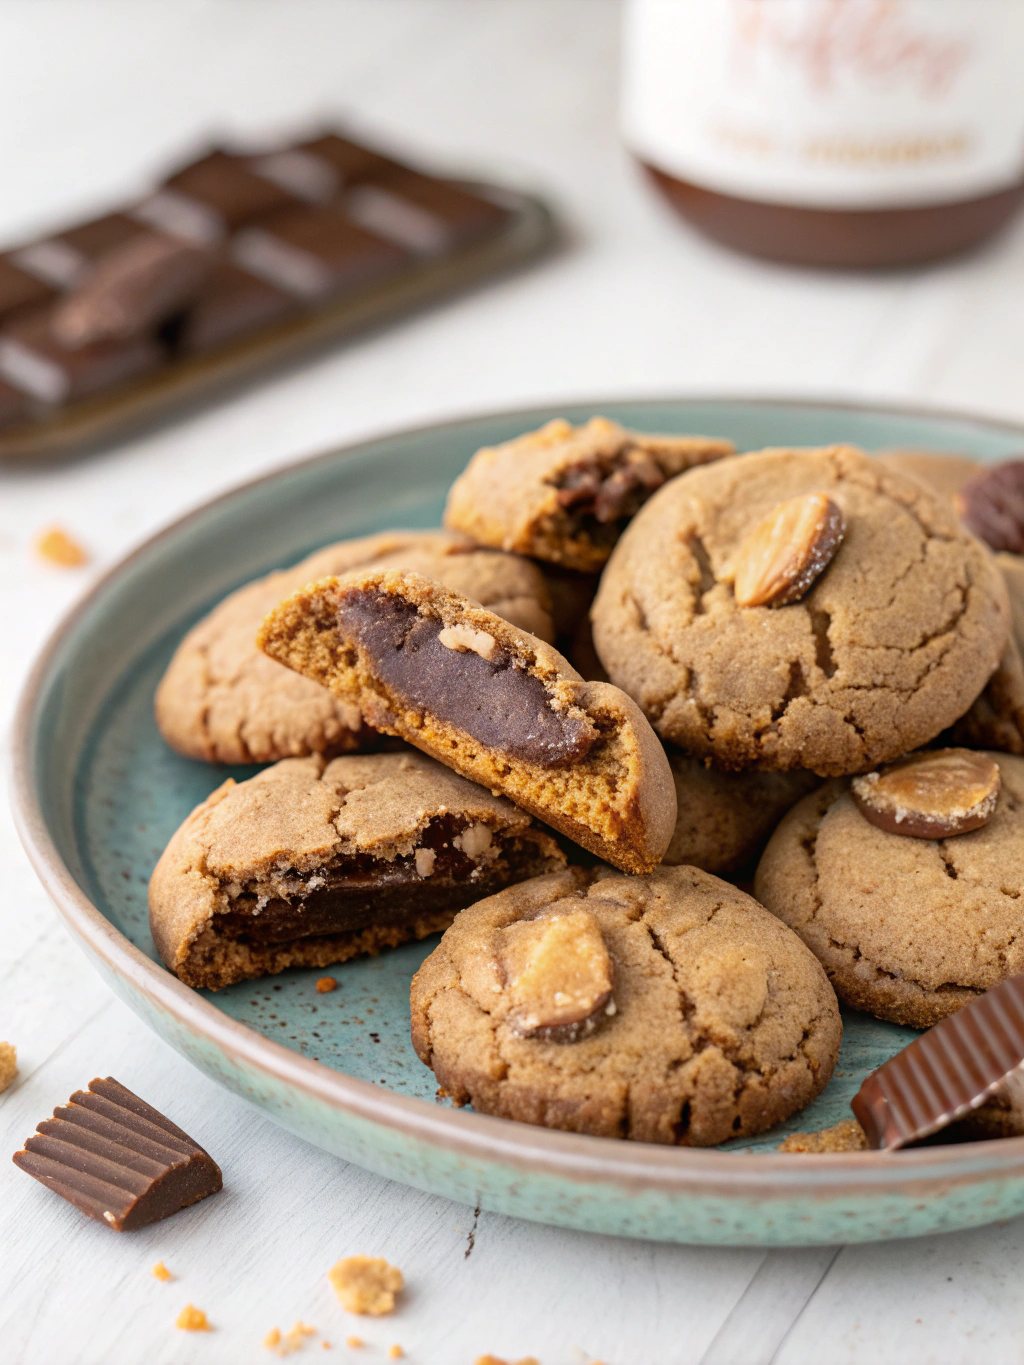
Peanut Butter Truffle Cookies Recipe
Peanut Butter Truffle Cookies: I know what you’re thinking—stuffed cookies sound intimidating, right? Trust me when I say that this comprehensive guide breaks down every single step into foolproof techniques that guarantee success. Yes, there’s one extra step involved, but the minimal effort pays off with a massive flavor and texture payoff that will elevate your baking game to bakery-quality status, right in your own kitchen.
Peanut Butter Truffle Cookies Recipe Overview
Baking Time and Nutrition Facts
30 cookies
30 minutes
12 minutes
42 minutes
Peanut Butter Truffle Cookies Ingredients
Key Ingredients
- For the Peanut Butter Truffle Filling:
120g (½ cup) creamy peanut butter (commercial brands like Jif or Skippy work best)
60g (½ cup) powdered sugar
30g (2 tablespoons) unsalted butter, softened
Pinch of fine salt
- For the Peanut Butter Cookie Dough:
240g (2 cups) all-purpose flour
1 teaspoon baking soda
½ teaspoon fine salt
115g (8 tablespoons) unsalted butter, softened
100g (½ cup, packed) brown sugar
100g (½ cup) granulated sugar
260g (1 cup) creamy peanut butter
1 large egg
1 teaspoon vanilla extract
- Optional for Finishing:
Flaky sea salt for sprinkling
Melted chocolate for drizzling
How To Make Peanut Butter Truffle Cookies
Part 1: Creating and Freezing the Truffle Filling
Instructions
- In a medium bowl, combine the peanut butter, powdered sugar, softened butter, and salt. Using a fork or small whisk, mix until the mixture is completely smooth and well combined. The texture should be firm enough to hold its shape but still creamy.
- Using your small cookie scoop, portion the filling into 20-24 uniform balls onto a parchment-lined plate or small baking sheet. Don’t worry about making them perfectly round at this stage—just focus on consistent sizing.
- The Crucial Freeze: Place the tray in the freezer for at least 1-2 hours, or until the filling balls are frozen completely solid. This is non-negotiable! Frozen filling is the absolute secret to easy assembly and prevents melting during the wrapping process.
Part 2: Making the Cookie Dough & The Art of Assembly
Instructions
- While your filling is freezing (or when ready to bake), preheat your oven to 350°F (175°C). Line two baking sheets with parchment paper.
- In a medium bowl, whisk together flour, baking soda, and salt. Set aside.
- In the bowl of your stand mixer (or large bowl with hand mixer), cream the softened butter with both sugars on medium speed for 2-3 minutes until light and fluffy. Add the peanut butter and mix until well combined.
- Beat in the egg and vanilla extract until fully incorporated. Reduce mixer speed to low and gradually add the flour mixture, mixing just until combined. Don’t overmix—this keeps our cookies tender.
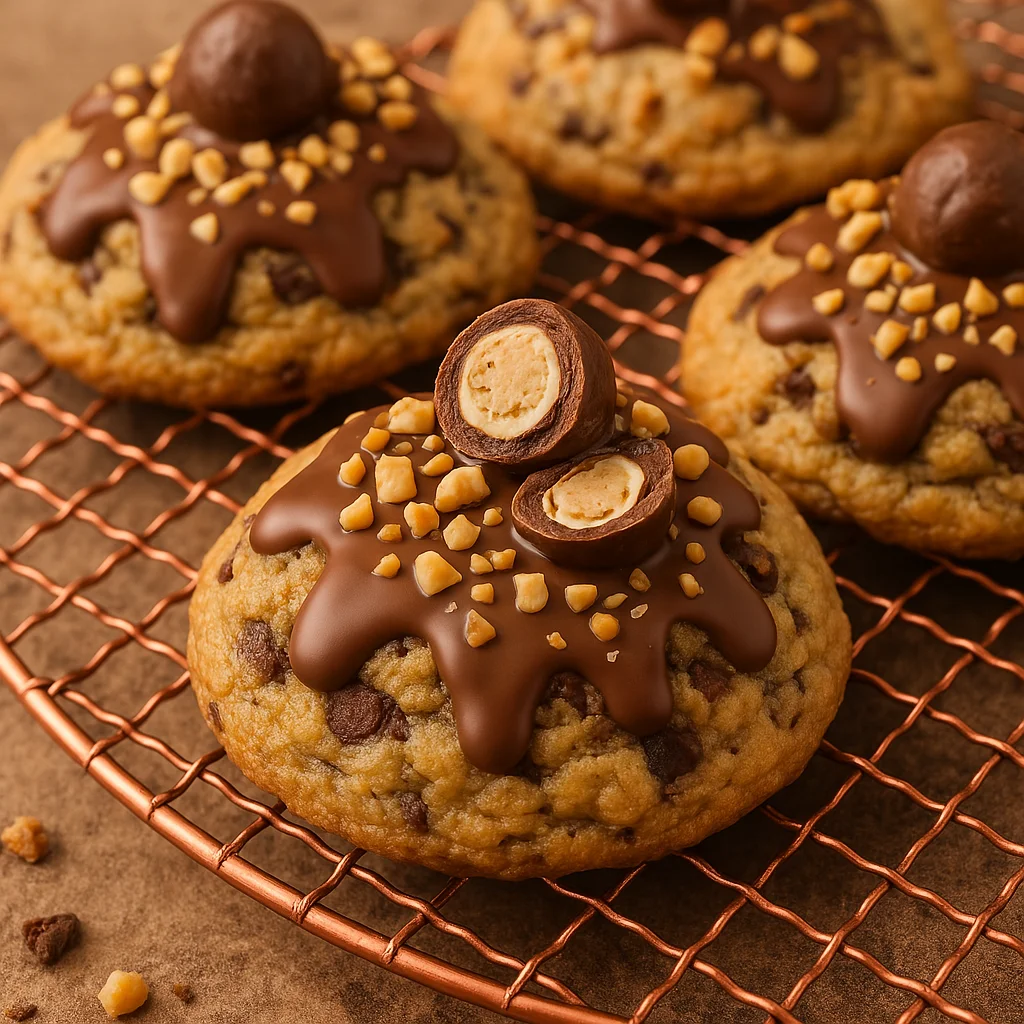
- The Art of Assembly: Here’s where the magic happens! Using your medium cookie scoop, portion out dough and place in your palm. Gently flatten the dough into a disc about 3 inches wide. Place one frozen truffle ball in the center, then carefully wrap the cookie dough around it, pinching and sealing the seams completely. Roll gently between your palms to create a smooth ball. The key is complete coverage—no filling should be visible.
- The Final Chill: Place assembled cookie balls on your prepared baking sheets, spacing them about 2 inches apart. Pop them in the refrigerator for 30 minutes. This brief chill prevents over-spreading and helps maintain that perfect shape.
- Baking to Perfection: Bake for 10-12 minutes, or until the edges are golden brown but the centers still look slightly soft and underbaked. This is crucial—they’ll continue cooking on the hot pan!
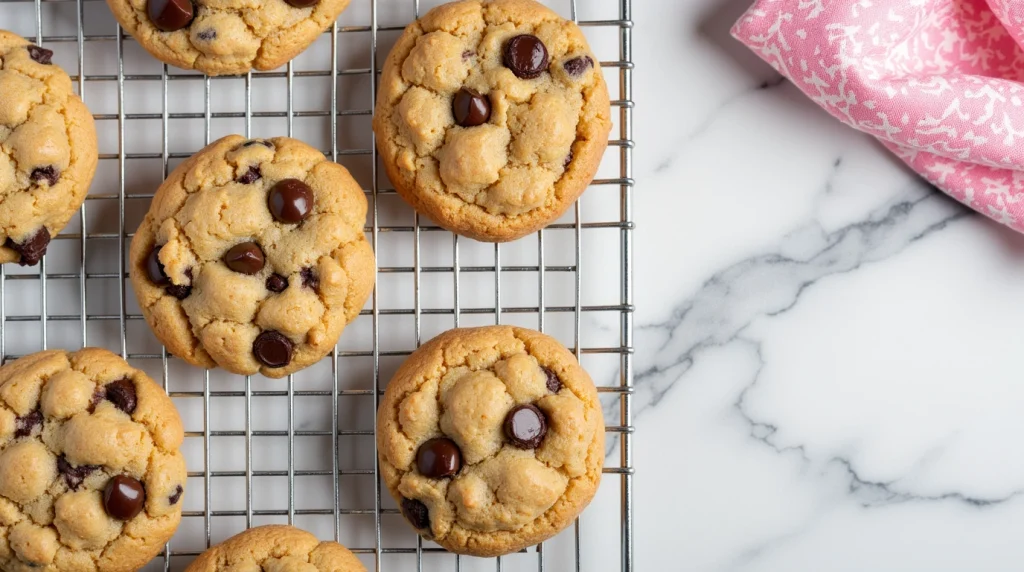
- Remove from oven and immediately sprinkle with flaky sea salt if desired. Let cool on the baking sheet for 5 minutes before transferring to a cooling rack.
Pastry Chef’s Masterclass: Keys to Success
The Freeze is Non-Negotiable
I cannot stress this enough—that frozen filling is your ticket to cookie success. When the filling is frozen solid, it won’t melt as you wrap the dough around it, preventing sticky fingers and messy assembly. Plus, it helps maintain that molten center effect we’re after.
The Right Peanut Butter Matters
Here’s some pastry science for you: commercial peanut butter brands contain emulsifiers that prevent oil separation, creating better stability and texture in both the filling and cookie dough. Natural peanut butters, while delicious, can cause texture issues and oil leakage in this recipe.
Don’t Overbake—Trust the Process
The secret to maintaining that molten truffle center and achieving perfectly soft cookies is pulling them from the oven when they look slightly underdone. The residual heat will finish the cooking process while preserving that incredible texture contrast we’re after.
Seal Those Seams Like a Pro
Take your time with the assembly step. Completely enclosing the truffle filling prevents leakage during baking and ensures every bite delivers that surprise center. Think of it as wrapping a little present—the seams should be invisible and secure.
The Finishing Touch That Makes All the Difference
That sprinkle of flaky sea salt right out of the oven isn’t just for show—it enhances the peanut butter flavor and adds a sophisticated touch that elevates these from good to absolutely extraordinary.
Storing Your Peanut Butter Truffle Cookies
The Perfect Serving Experience
These cookies are absolutely heavenly when eaten slightly warm, about 10-15 minutes after coming out of the oven. That’s when the truffle center is at peak molten perfection, and the cookie exterior has the ideal tender-chewy texture.
Storage Solutions
Store cooled cookies in an airtight container at room temperature for up to 5 days. For longer storage, freeze baked cookies for up to 3 months—just thaw at room temperature when ready to enjoy.
Pro-Tip for Fresh-Baked Anytime
Here’s a game-changer: you can freeze the assembled, unbaked cookie dough balls for up to 3 months. Just add 1-2 extra minutes to the baking time when baking from frozen. Imagine having fresh, warm truffle cookies ready in just 12 minutes anytime the craving strikes!
Delicious Variations to Try
Cinnamon Sugar Coating: Roll assembled cookie balls in cinnamon sugar before that final chill for a sweet, spiced exterior.
Chocolate Drizzle Finish: Once cooled, drizzle with melted dark or milk chocolate for an extra indulgent touch.
Sea Salt Caramel Twist: Add a small piece of soft caramel candy alongside the peanut butter truffle for a salted caramel peanut butter experience.
Your Journey to Cookie Mastery
Congratulations! You’ve just mastered one of the most impressive cookie techniques in the baking world. These Peanut Butter Truffle Cookies represent everything I love about elevated comfort baking—they take a beloved classic and transform it into something truly extraordinary.
There’s pure joy in watching someone’s face light up when they discover that incredible molten center. You’ve created more than just cookies; you’ve crafted moments of delight and surprise that people will remember long after the last crumb is gone.
I can’t wait for you to experience the satisfaction of pulling these beauties from your oven and sharing them with the people you love. The technique you’ve learned here will serve you well in countless future baking adventures.
Now go forth and bake these show-stopping cookies! Don’t forget to share your results—I love seeing how these cookies bring joy to kitchens around the world. Tag your photos and let me know how your first batch turns out. Happy baking!