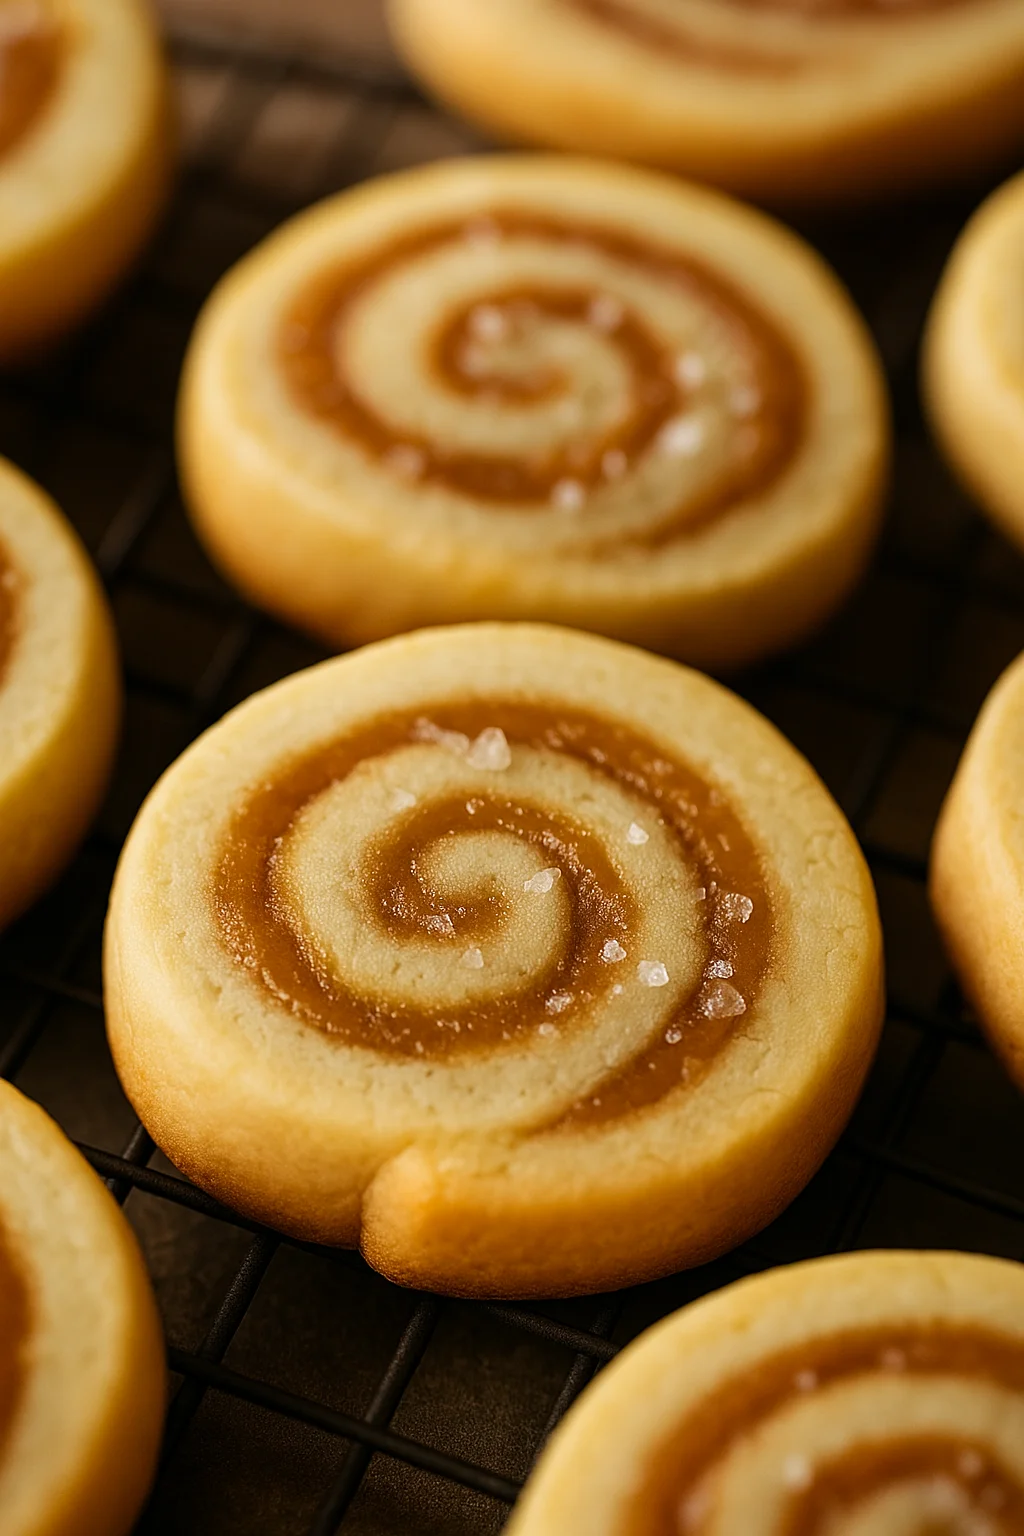
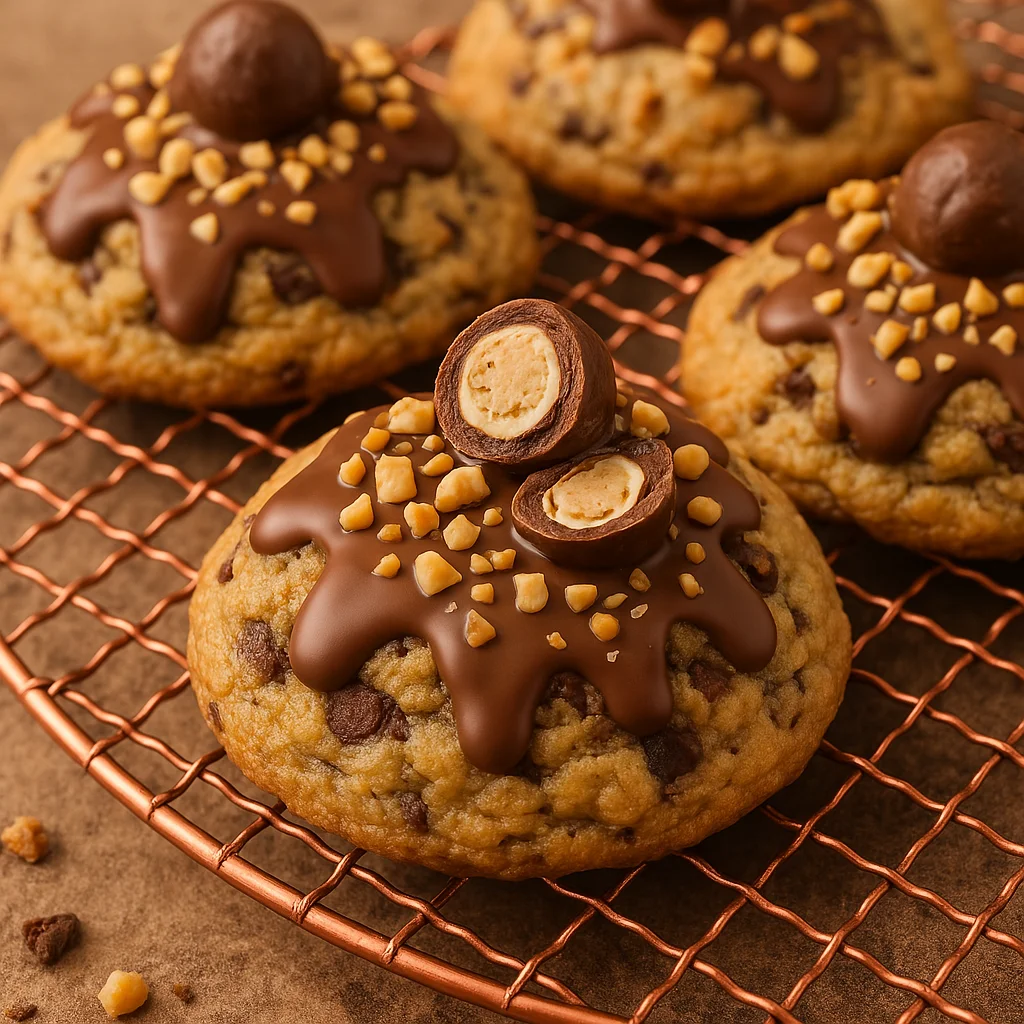
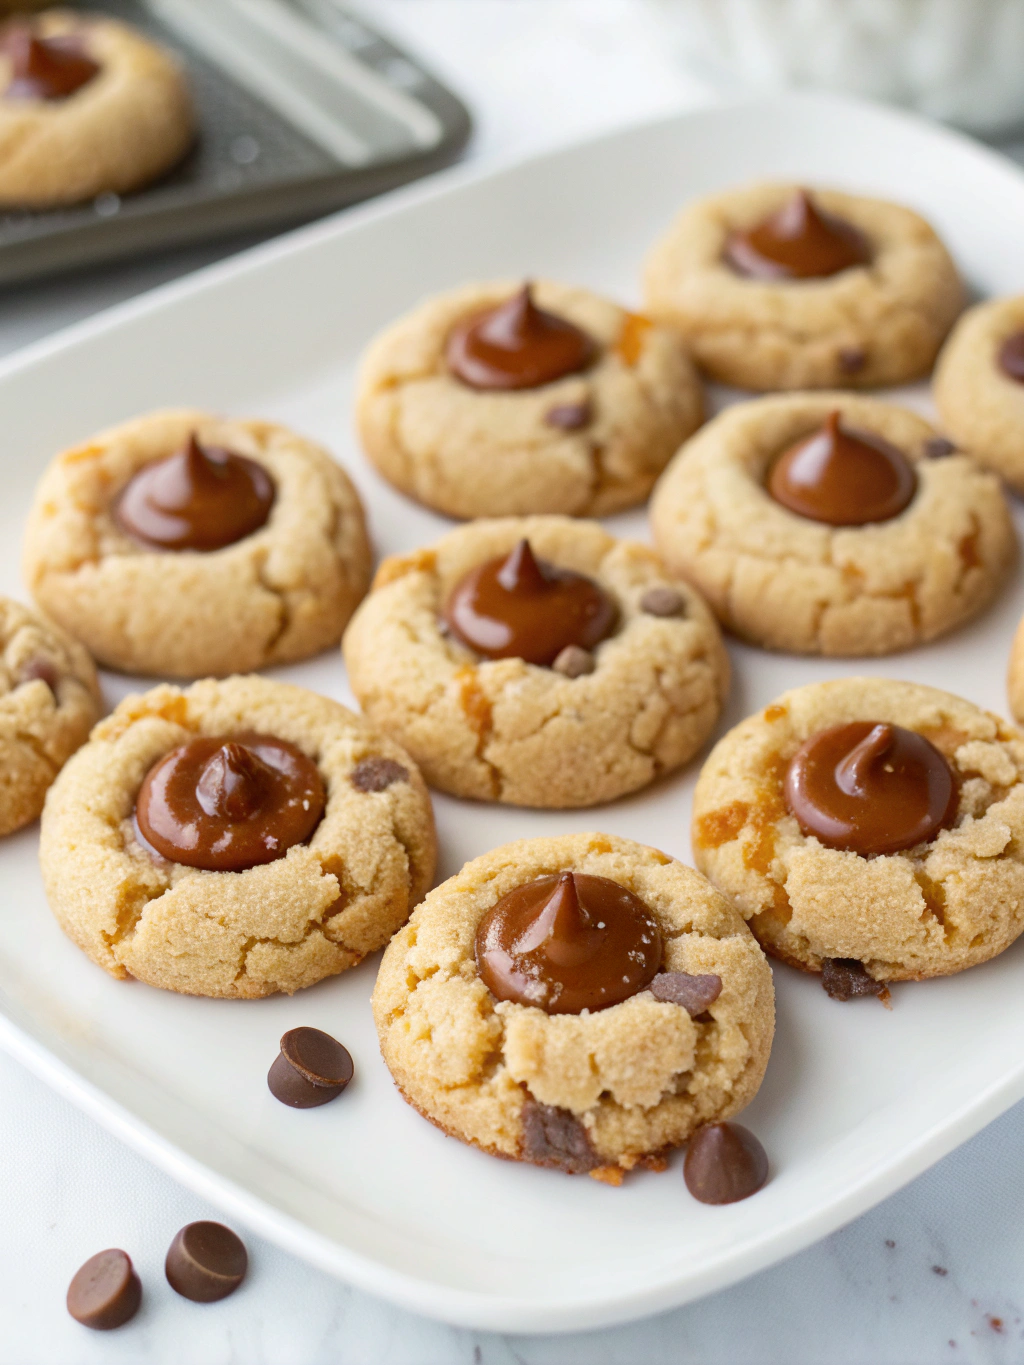
Chocolate Caramel Thumbprint Cookies Recipe
These aren’t just any Chocolate Caramel thumbprint cookies. This is the definitive version of a beloved classic—a recipe I’ve spent years perfecting to achieve that magical balance of textures and flavors. What makes them so special? They’re surprisingly simple to make with ingredients you likely already have in your pantry, yet they deliver bakery-quality results that will have everyone asking for the recipe.
I know thumbprint cookies can sometimes be tricky. Maybe you’ve experienced cookies that spread too much, cracked around the edges, or ended up with rock-hard caramel centers. That’s exactly why I’m sharing my foolproof guide with you today, complete with all the professional tips and tricks I use in my own kitchen to prevent those common issues and guarantee success every single time.
Chocolate Caramel Thumbprint Cookies Recipe Overview
Baking Time and Nutrition Facts
24 cookies
20 minutes
12 minutes
2 hours
Chocolate Caramel Thumbprint Cookies Ingredients
Before we dive into the recipe, let me walk you through each essential component and why it matters for creating these incredible cookies.
Key Ingredients
- The Cookie Dough
Unsalted Butter (1 cup/226g, softened to room temperature): This is the foundation of our tender shortbread base. The butter must be properly softened—not melted, not cold—but yielding to gentle pressure. This ensures proper creaming with the sugars for that melt-in-your-mouth texture.
Sugar Blend: I use a combination of granulated sugar (1/2 cup/100g) and powdered sugar (1/4 cup/30g). The granulated sugar provides structure and that perfect hint of sweetness, while the powdered sugar contains cornstarch that creates an incredibly tender, almost silky texture.
Egg Yolk Only (1 large): Here’s one of my most important secrets—using only the egg yolk and not the whole egg. The yolk provides richness and binding power without the extra moisture from the egg white, which can cause spreading and tougher cookies.
Vanilla Extract (1 teaspoon) & Salt (1/2 teaspoon): These enhance all the other flavors without competing. The salt is especially crucial for balancing the sweetness and bringing out the buttery notes.
All-Purpose Flour (1 3/4 cups/220g): Measured correctly using the spoon-and-level method. Too much flour makes tough cookies; too little causes spreading.
- The Caramel Filling: Two Foolproof Options
Option 1 – The Quick & Easy Method:
Use 24 soft caramel candies (like Werther’s Soft Caramels) melted with 2-3 tablespoons of heavy cream. This method is incredibly reliable, saves time, and produces consistently perfect results with a lovely smooth texture.Option 2 – The Homemade Method:
Create a simple caramel sauce using 1/2 cup granulated sugar, 2 tablespoons butter, and 2 tablespoons heavy cream. This gives you deeper, more complex caramel flavor and complete control over the consistency.- The Chocolate Drizzle
High-Quality Chocolate (1/2 cup/85g): I recommend semi-sweet or dark chocolate chips, or chopped baking chocolate. These have the perfect balance of sweetness to complement—not compete with—the caramel, plus they melt beautifully for drizzling.
How To Make Chocolate Caramel Thumbprint Cookies
1. Making the Tender Shortbread Dough
Instructions
- Begin by preheating your oven to 350°F (175°C) and lining two baking sheets with parchment paper.
- In a large mixing bowl, cream together the softened butter, granulated sugar, and powdered sugar using an electric mixer on medium speed for 3-4 minutes until the mixture is light and fluffy. This creaming process is crucial for incorporating air and creating that tender texture we’re after.
- Beat in the egg yolk and vanilla extract until fully combined. The mixture should look smooth and cohesive.
- In a separate bowl, whisk together the flour and salt. Gradually add this to the butter mixture, mixing on low speed just until the flour disappears. Don’t overmix—this can lead to tough cookies.
2. The Crucial Chilling Step
Instructions
- Here’s where many recipes go wrong, but not ours! Wrap the dough in plastic wrap and refrigerate for at least 30-60 minutes. This chilling time is absolutely non-negotiable. It firms up the butter, which prevents spreading during baking and makes the dough much easier to handle.
3. Shaping the Cookies & Making the Perfect Indent
Instructions
- Once chilled, roll the dough into 1-inch balls using your palms. Roll each ball smoothly until there are no visible seams—this prevents cracking during baking.
- Place the balls on your prepared baking sheets, spacing them about 2 inches apart.
- Here’s my #1 professional tip: Instead of using your thumb (which can create uneven indents), use the back of a round 1/2 teaspoon measuring spoon to create perfect, uniform indents in each cookie. Press down about halfway through the dough ball, creating a well that’s deep enough to hold the caramel but won’t go all the way through.
4. Baking to Perfection
Instructions
- Bake for 10-12 minutes, or until the edges are set and just beginning to turn golden. The centers should still look slightly soft.
- Here’s another pro tip: If you notice the indents have puffed up during the first 5-6 minutes of baking, quickly remove the pan and gently re-press them with your measuring spoon, then return to the oven.
- Allow the cookies to cool on the baking sheet for 5 minutes before transferring to a wire rack to cool completely.
5. Preparing the Caramel & Filling the Cookies
Instructions
- For Quick Caramel: Place the soft caramels and 2 tablespoons of heavy cream in a microwave-safe bowl. Microwave in 30-second intervals, stirring between each, until smooth and melted. Add additional cream if needed to reach a spoonable consistency.
- For Homemade Caramel: In a small saucepan, heat the sugar over medium heat, stirring constantly until it melts and turns golden amber. Remove from heat and carefully whisk in the butter, then slowly add the cream. The mixture will bubble vigorously—this is normal. Stir until smooth and let cool for 5-10 minutes until slightly thickened.
- Using a small spoon, fill each cooled cookie indent with about 1/2 teaspoon of caramel. The caramel should be thick enough to stay in the well but still soft and gooey.
6. The Final Flourish: The Chocolate Drizzle
Instructions
- Melt the chocolate in a microwave-safe bowl in 30-second intervals, stirring between each, until smooth. You can also use a double boiler if you prefer.
- Transfer the melted chocolate to a small zip-top bag, snip off a tiny corner, and drizzle over the cookies in any pattern you like. I love simple back-and-forth lines, but feel free to get creative!
- Allow the chocolate to set for about 15 minutes before serving.
Pastry Chef’s Troubleshooting & Pro-Tips
Let me share the solutions to the most common thumbprint cookie challenges:
How to Prevent Cracking: Always roll your dough balls smoothly between your palms until there are no visible seams or cracks in the surface. These surface imperfections will become stress points during baking.
How to Prevent Spreading: Never skip the chilling time, and make sure your butter is properly softened, not melted. If your kitchen is very warm, chill the shaped cookies on the baking sheet for an additional 15 minutes before baking.
The Perfect Indent: Using a measuring spoon instead of your thumb gives you consistent size and depth. If indents puff during baking, re-press them gently while the cookies are still warm.
Achieving Perfect Caramel Consistency: The caramel should be thick enough to hold its shape in the cookie but still soft when cooled. If it becomes too thick, warm it slightly and add a teaspoon of cream. If it’s too thin, let it cool a bit longer before filling the cookies.
Chocolate Drizzle Tips: Make sure your cookies are completely cool before drizzling to prevent the chocolate from melting and losing its shape.
Storing Your Chocolate Caramel Thumbprint Cookies
Storing Baked Cookies: Keep your finished thumbprint cookies in an airtight container at room temperature for up to one week. Layer them between parchment paper to prevent the chocolate drizzle from sticking.
Freezing Instructions: You can freeze the unbaked dough balls for up to 3 months. Simply place them on a baking sheet, freeze until solid, then transfer to a freezer bag. Bake directly from frozen, adding 1-2 extra minutes to the baking time. You can also freeze fully baked cookies (before adding caramel and chocolate) for up to 3 months.
Make-Ahead Plan: Make the dough up to 2 days ahead and keep it wrapped in the refrigerator. You can also bake the cookies (without filling) up to 3 days ahead and store them in an airtight container, then add the caramel and chocolate when ready to serve.
Your Sweet Success Story Awaits
Congratulations! You now have all the knowledge and confidence you need to create the most incredible chocolate caramel thumbprint cookies. These aren’t just cookies—they’re little bites of pure joy that bring together everything we love about baking: the satisfaction of creating something beautiful with our own hands, the comfort of classic flavors done right, and the happiness that comes from sharing something delicious with the people we care about.
Whether you’re preparing these gorgeous cookies for your next holiday gathering, surprising coworkers with a thoughtful homemade treat, or simply want to fill your home with the incredible aroma of butter, caramel, and chocolate, I know these are going to become one of your most treasured recipes.
I’d love to see your beautiful results! Bake a batch this weekend and share your creations—these cookies are meant to be celebrated and shared. Happy baking, my friend!