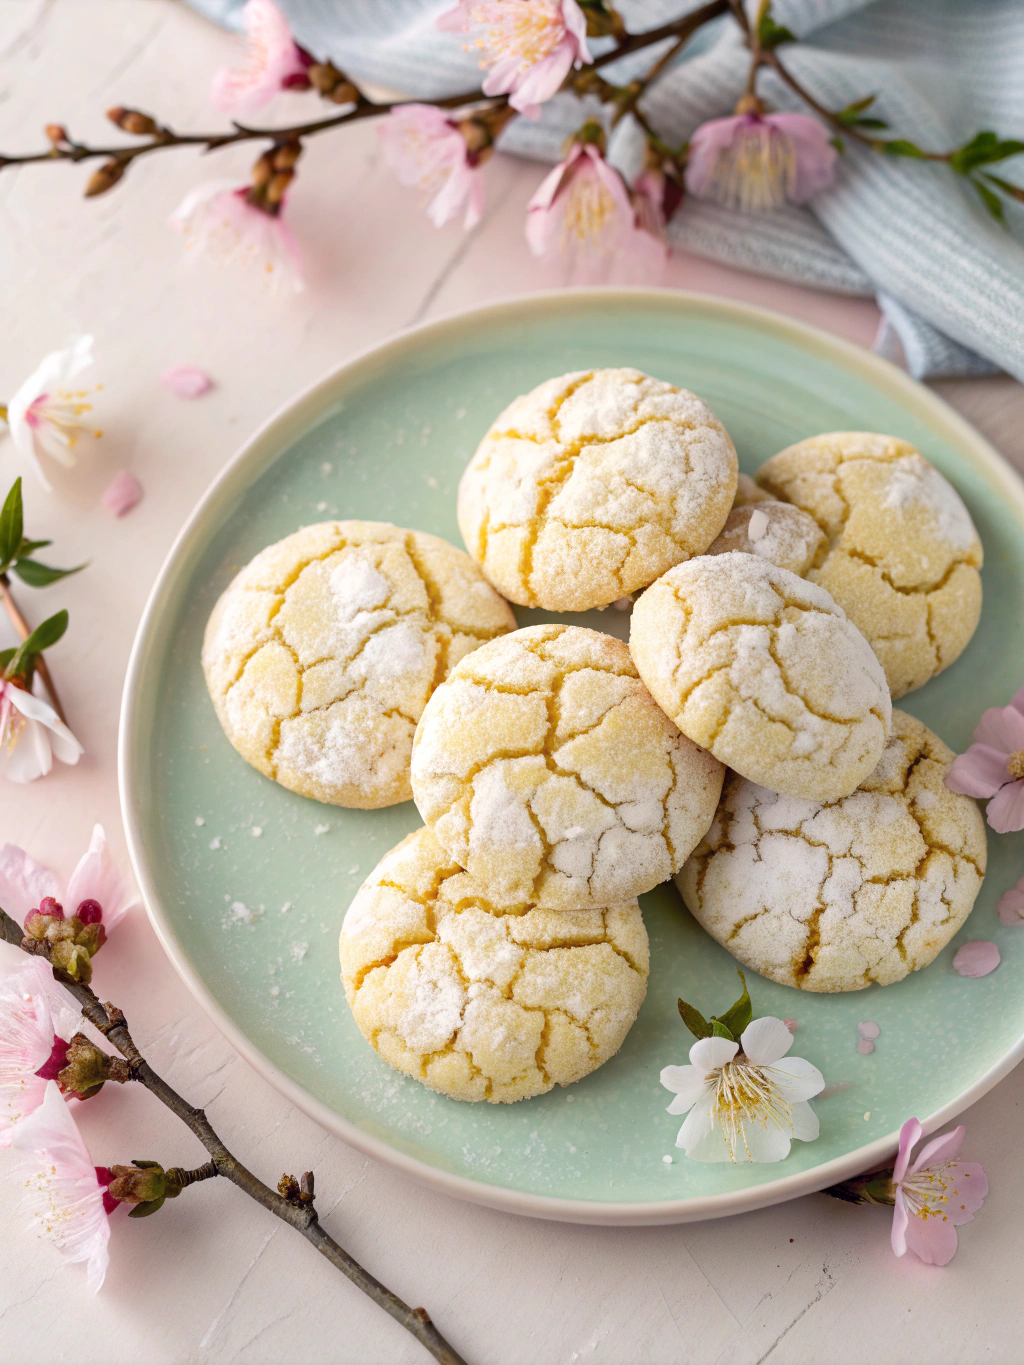
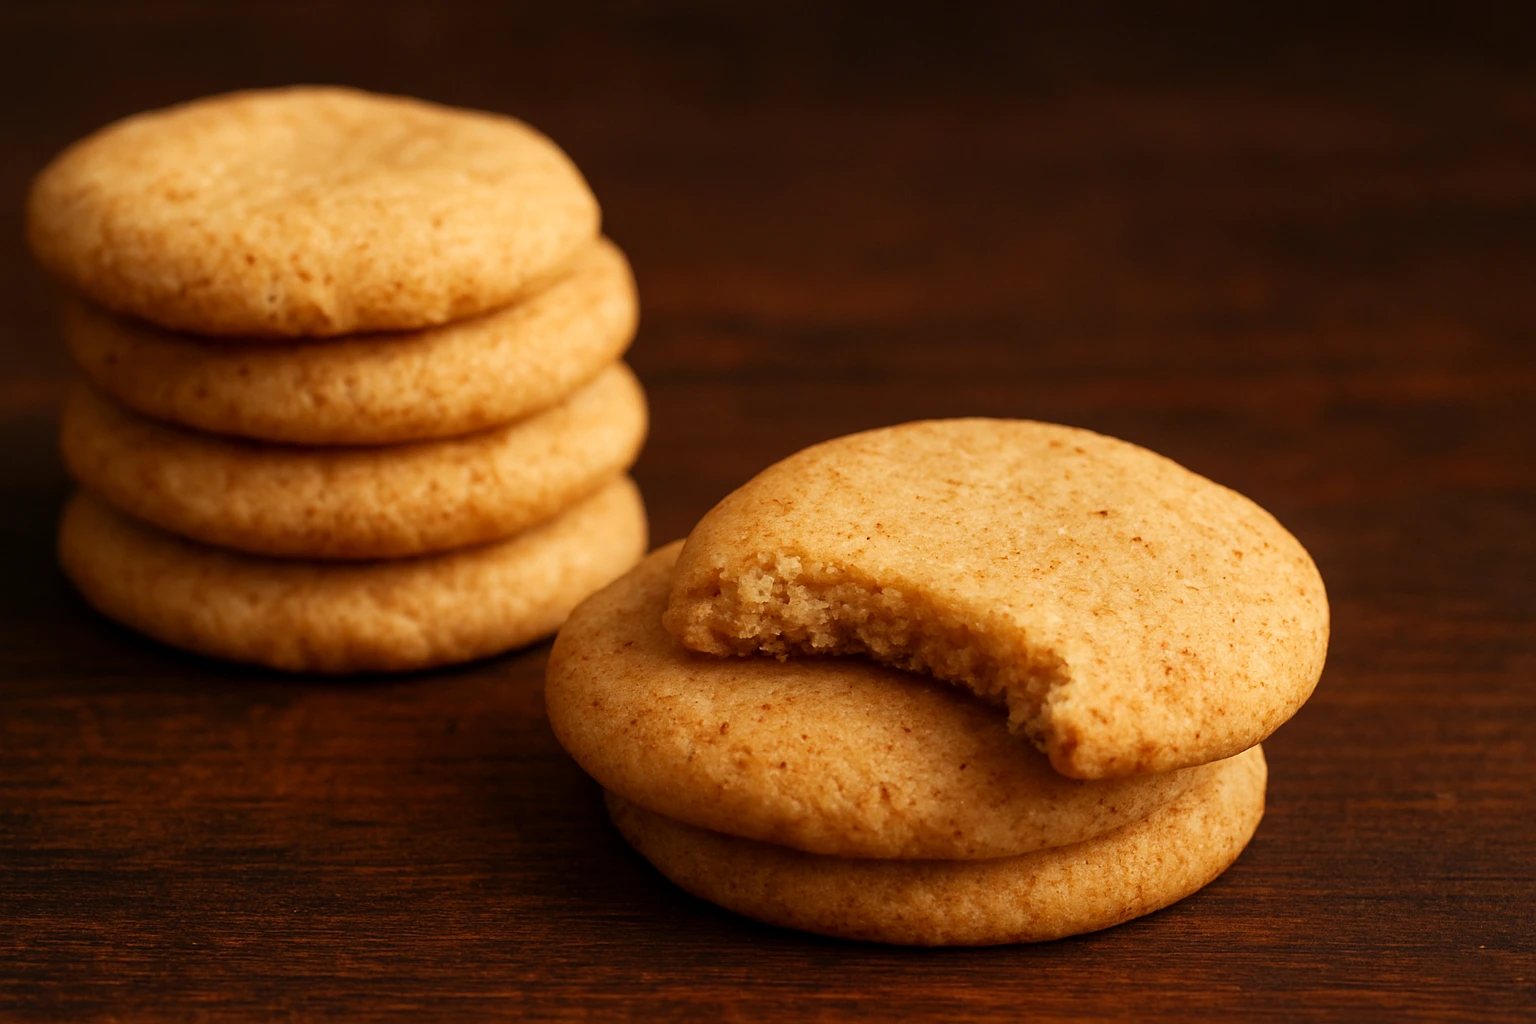
Brown Butter Shortbread Cookies
Classic shortbread is a testament to buttery simplicity—proof that great baking doesn’t require complexity. But what happens when you introduce one simple, transformative step? You unlock a world of flavor that is nutty, toasty, and deeply complex. Welcome to the magic of Brown Butter Shortbread.
Brown Butter Shortbread Cookies Recipe Overview
Baking Time and Nutrition Facts
24 cookies
20 minutes
15 minutes
110 Kcal
1 hour
2 hours
3.5 hours
American
Brown Butter Shortbread Cookies Ingredients
Key Ingredients
1 cup (226g) unsalted butter, high-quality (European-style preferred)
½ cup (60g) powdered sugar (confectioners’ sugar)
2 cups (240g) all-purpose flour
1 teaspoon pure vanilla extract
¼ teaspoon fine sea salt
Flaky sea salt, for finishing (optional but highly recommended)
Baker’s Notes on Ingredients
The Butter Matters: Since butter is the star of this recipe, quality makes a noticeable difference. European-style butter has a higher fat content (82-86% versus the standard 80%), which means more butterfat and more milk solids to toast. The result? Deeper flavor and more of those precious brown bits.
Powdered vs. Granulated Sugar: We use powdered sugar rather than granulated for this recipe. Its fine, silky texture contributes to a more tender, melt-in-your-mouth crumb that is the hallmark of classic shortbread. Granulated sugar would create a crisper, less delicate cookie.
How To Make Brown Butter Shortbread Cookies
Instructions
- Part 1: How to Brown Butter Perfectly
- Cut your butter into tablespoon-sized pieces for even melting. Place them in your light-colored saucepan over medium heat.
- As the butter melts, it will begin to bubble and foam vigorously. This is the water content evaporating—completely normal. Stir occasionally with your heatproof spatula.
- After 5-6 minutes, the foam will subside and the butter will begin to sputter and crackle. This is the sound of the milk solids toasting. Now, your full attention is required.
- Begin swirling the pan frequently—every 15-20 seconds. You’re ensuring even heat distribution and preventing any milk solids from burning on the bottom. Watch the color carefully.
- Use all your senses. Your nose will tell you when you’re close—the aroma will shift from buttery to intensely nutty, almost like toasted hazelnuts or warm toffee. Your eyes will see golden-brown specks forming at the bottom of the pan, dancing in the golden liquid. Your ears will notice the sputtering quieting down.
- The moment you see those brown specks and smell that intoxicating nutty aroma (usually after 7-10 minutes total), immediately remove the pan from heat and pour the butter—including every precious brown fleck—into your heatproof bowl. This stops the cooking process. The difference between perfectly browned and burnt is mere seconds, so don’t hesitate.
- Let the brown butter cool at room temperature for about 15 minutes, then refrigerate for 45-60 minutes until it reaches a soft, spreadable, paste-like consistency. It should be solid but not rock-hard. This is crucial for the proper texture of your dough.
- Part 2: Making the Brown Butter Shortbread
- Once your brown butter has reached the right consistency, transfer it to the bowl of your electric mixer. Add the powdered sugar, vanilla extract, and fine sea salt. Beat on medium speed for 2-3 minutes until the mixture is light and fluffy. Don’t skip this step—you’re incorporating air that will make your cookies tender.
- Reduce the mixer speed to low. Gradually add the flour, about ½ cup at a time, mixing until just combined. The dough should look slightly crumbly but hold together when pressed. Do not overmix, or you’ll develop the gluten and end up with tough cookies.
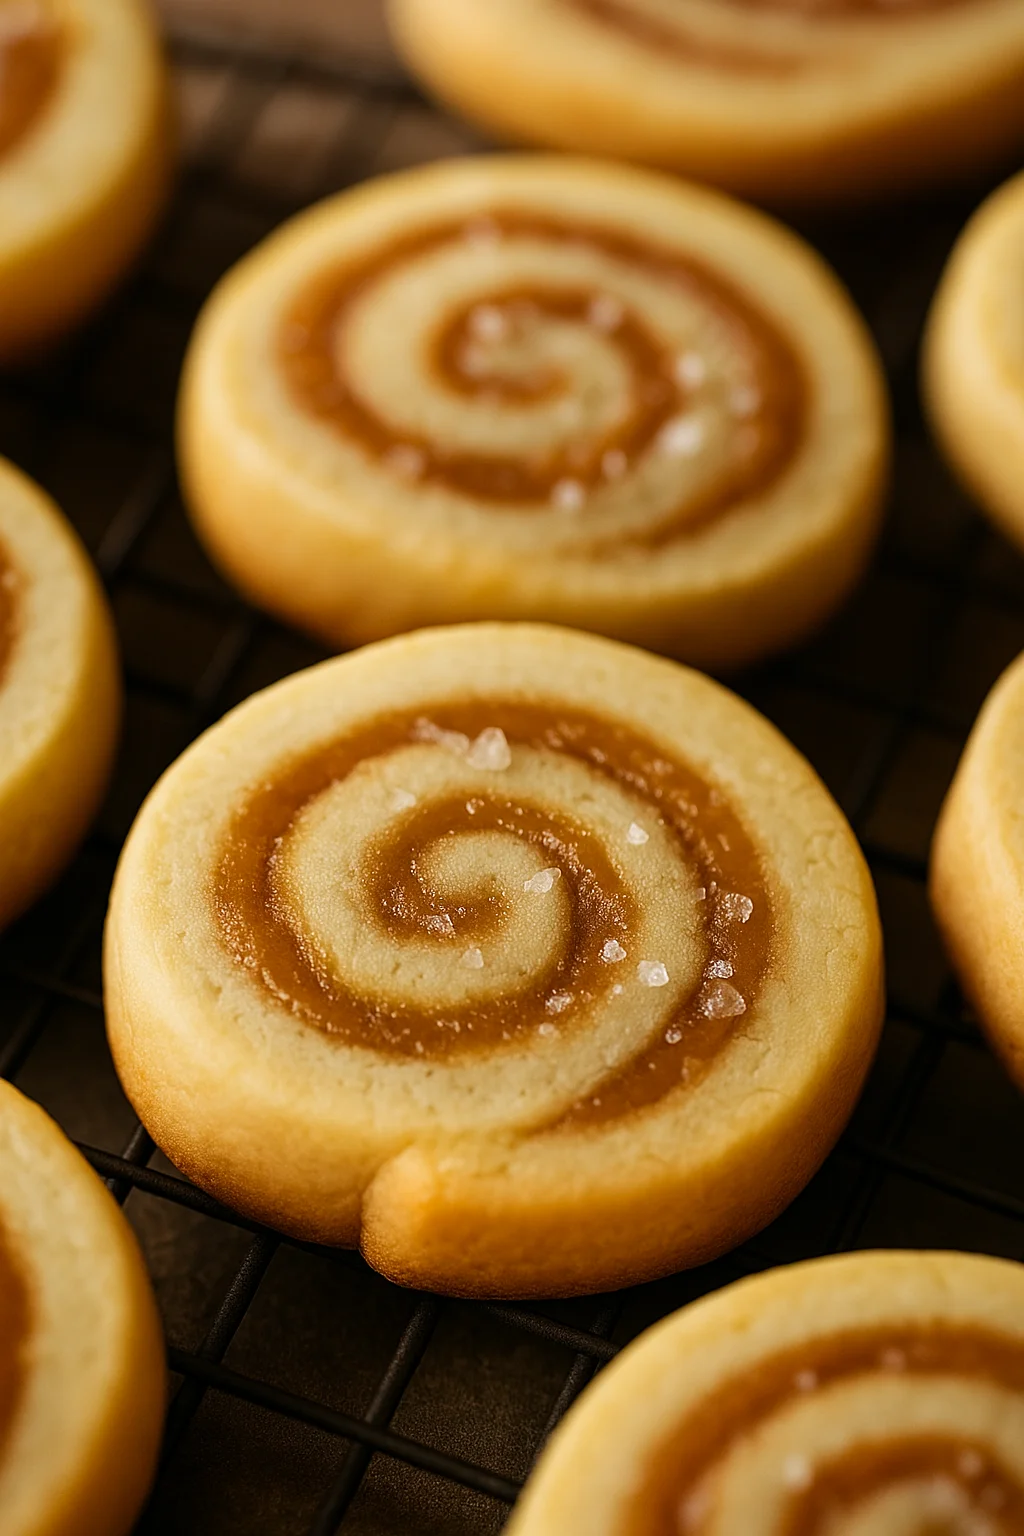
- Turn the dough out onto a large piece of plastic wrap or parchment paper. Shape it into a log approximately 2 inches in diameter and 10-12 inches long. This slice-and-bake method ensures uniform cookies and makes storage easy. Wrap tightly and refrigerate for at least 1-2 hours, or up to 3 days. This chill time is non-negotiable—it allows the flour to hydrate, the flavors to meld, and ensures the cookies won’t spread too much during baking.
- When ready to bake, preheat your oven to 325°F (165°C). Line two baking sheets with parchment paper.
- Unwrap the chilled dough log and use a sharp knife to slice it into rounds approximately ¼-inch thick. For a classic look, use a fork to dock each cookie with a few gentle pricks. Arrange cookies on the prepared baking sheets, spacing them about 1 inch apart.
- Bake for 12-15 minutes, until the edges are just beginning to turn golden brown. The centers may look slightly underdone, but they’ll firm up as they cool. For an elegant finish, sprinkle a tiny pinch of flaky sea salt on each cookie immediately after removing them from the oven.
- Let the cookies cool on the baking sheet for 5 minutes, then transfer to a wire rack to cool completely. They’ll be delicate when warm but will develop that perfect sandy texture as they cool.
Pro-Tips for Brown Butter Brilliance
Use a Light-Colored Pan: This cannot be emphasized enough. In a dark pan, you simply cannot see the color change happening at the bottom. A light-colored stainless steel or ceramic-coated pan lets you monitor the milk solids as they transform from pale yellow to golden to amber brown.
Use Your Senses: Your nose is your most reliable tool. The nutty aroma is unmistakable and tells you exactly when the butter is ready. Trust it.
Don’t Walk Away: Brown butter demands your attention. It can go from perfectly toasted to acrid and burnt in less than 30 seconds. Stay present, stay vigilant.
Scrape Every Bit: Those little brown flecks settled at the bottom of the pan are pure, concentrated flavor. Use your spatula to scrape every single one into your bowl. They’re the flavor bombs that make this recipe special.
Patience During Chilling: The cooling and chilling steps aren’t optional. If your brown butter isn’t properly solidified, your dough will be greasy and spread during baking. If your dough log isn’t chilled, your cookies will lose their shape. Good things come to those who wait.
Room Temperature Matters: When creaming the brown butter with sugar, it should be soft like room-temperature regular butter—pliable but not melted. Too cold, and it won’t incorporate air; too warm, and your dough will be sticky.
Brown Butter Shortbread Cookies Variations
The Perfect Finish
A delicate sprinkle of flaky sea salt on top of each cookie immediately after baking creates an addictive sweet-savory contrast that makes these cookies truly unforgettable.
Gourmet Chocolate Dip
Once completely cooled, dip half of each cookie in melted high-quality dark chocolate (60-70% cacao). Place on parchment paper and let the chocolate set. The bittersweet chocolate beautifully complements the nutty brown butter.
Nutty Addition
Fold ⅓ cup finely chopped toasted pecans or almonds into the dough after adding the flour. Toast the nuts in a 350°F oven for 8-10 minutes first to intensify their flavor—you’re already embracing the toasted, nutty flavor profile, so why not double down?
Spiced Brown Butter Shortbread
Add ¼ teaspoon ground cardamom or ½ teaspoon ground cinnamon to the flour for a warmly spiced variation that’s perfect for the holidays.
Citrus Zest
Add the finely grated zest of one lemon or orange to the dough for a bright, aromatic note that cuts through the richness.
Storing Your Brown Butter Shortbread Cookies
Store your browned butter cookies in an airtight container at room temperature for up to one week. Here’s a delicious secret: the nutty flavor often deepens and becomes even more complex by the second day, making these an excellent make-ahead option for holiday cookie tins or special occasions.
Freezing: These cookies freeze beautifully. You can freeze the unbaked dough log wrapped tightly in plastic wrap and aluminum foil for up to 3 months. Slice and bake directly from frozen, adding 2-3 minutes to the baking time. Baked cookies can also be frozen in an airtight container for up to 3 months—thaw at room temperature.
The Art of Transformation
There’s something deeply satisfying about taking a classic recipe and elevating it with a single, intentional technique. Brown butter shortbread cookies prove that sophistication doesn’t require complexity—it requires understanding.
You’ve just learned more than a recipe. You’ve mastered the art of browning butter, a technique that will transform everything from baked goods to pasta sauces, from breakfast pancakes to roasted vegetables. Those toasted milk solids? They’re your new secret weapon.
These cookies are proof that the best recipes honor tradition while embracing possibility. They’re simple enough for a weeknight yet elegant enough for the most discerning guests. They’re buttery and comforting, yet complex and intriguing. They are, quite simply, shortbread perfected.
Now it’s your turn. Heat that pan, trust your senses, and watch as ordinary butter becomes extraordinary. Your kitchen is about to smell absolutely incredible.
Made these brown butter shortbread cookies? I’d love to hear about your experience! Did you master the brown butter technique on your first try? What finishing touch did you choose? Leave a comment and rating below—your feedback helps fellow bakers and makes my day!