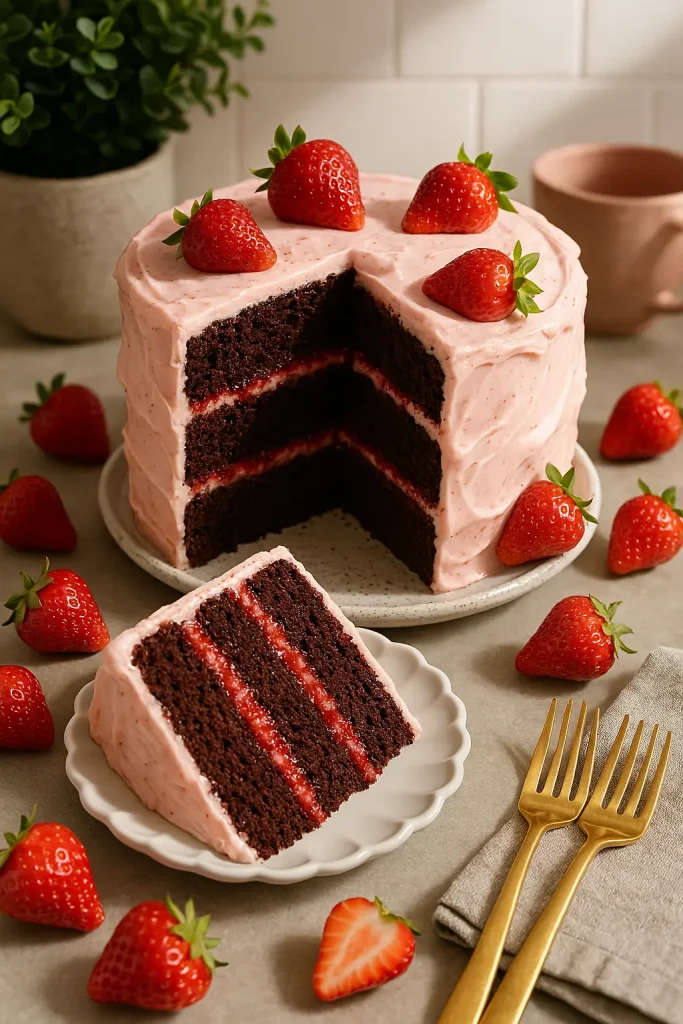
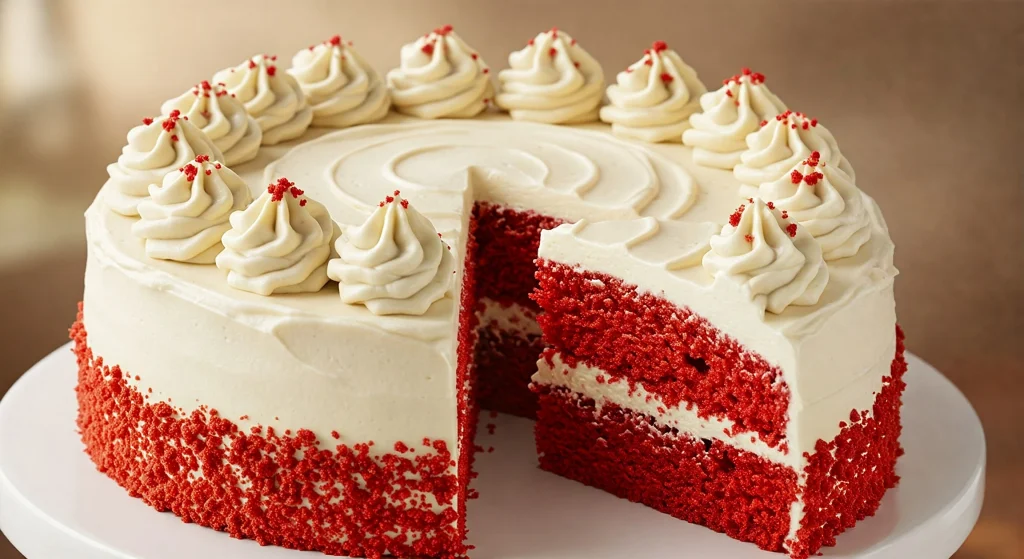
Original Red Velvet Cake Recipe
Have you ever wanted to make a stunning original red velvet cake but felt intimidated by all those complicated recipes out there? Today, I’m sharing my foolproof original red velvet cake recipe that’s perfect for beginners but impressive enough for special occasions. With clear instructions and helpful tips, you’ll create a moist, velvety cake with that perfect cream cheese frosting every single time.
Why This Original Red Velvet Cake Recipe Works
- Truly beginner-friendly – no fancy techniques required
- Perfectly balanced flavors – not too sweet with that classic subtle cocoa taste
- Consistently moist texture – no dry, crumbly cake here!
- Step-by-step photos – see exactly what to expect at each stage
- Troubleshooting guide – solutions for common baking issues
- Dietary substitutions – options for various allergies and restrictions
Let’s get baking!
Original Red Velvet Cake Recipe Overview
Details
12
20 Minutes
35 Minutes
2 Hours
3 Hours
18g
400 Kcal
4g
30g
Equipment Needed
- Two 9-inch round cake pans
- Parchment paper
- Mixing bowls
- Electric mixer
- Measuring cups and spoons
- Rubber spatula
- Offset spatula
- Cooling rack
Original Red Velvet Cake Ingredients
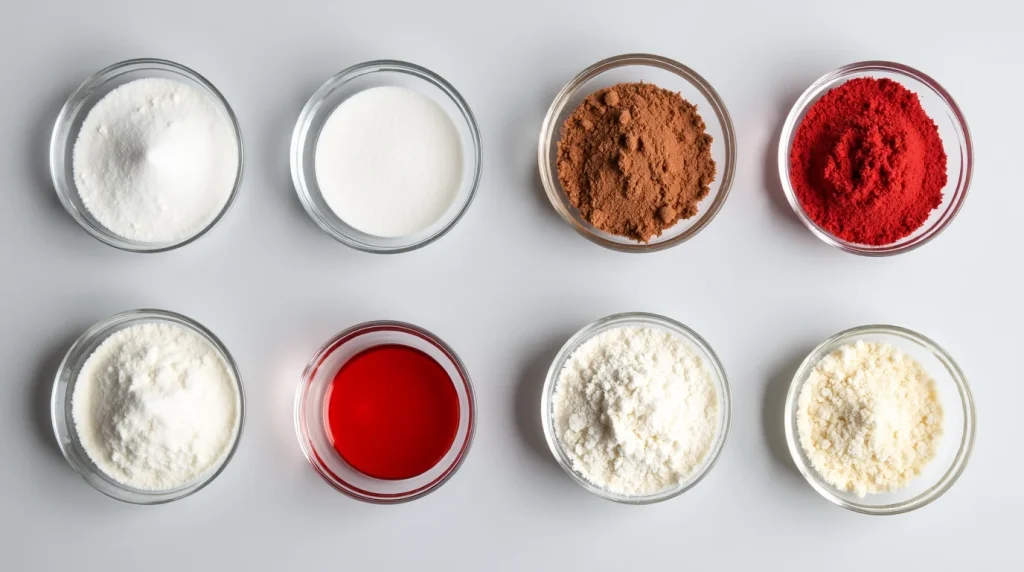
Key Ingredients
- For the Red Velvet Cake:
2½ cups all-purpose flour
1½ cups granulated sugar
1 teaspoon baking soda
1 teaspoon salt
1 tablespoon cocoa powder
1½ cups vegetable oil
1 cup buttermilk, room temperature
2 large eggs, room temperature
2 tablespoons red food coloring (liquid) or 1 tablespoon gel food coloring
1 teaspoon vanilla extract
1 teaspoon white vinegar
- For the Cream Cheese Frosting:
16 oz cream cheese, softened
½ cup unsalted butter, softened
4 cups powdered sugar
1 teaspoon vanilla extract
Pinch of salt
How To Make Original Red Velvet Cake
Preparing Your Pans and Oven
Instructions
- Preheat your oven to 350°F (175°C).
- Grease two 9-inch round cake pans with butter or cooking spray.
- Cut parchment paper circles to fit the bottom of each pan, then place them inside and grease the parchment paper too.
- Lightly dust the pans with flour, tapping out any excess.
Making the Cake Batter
Instructions
- In a medium bowl, whisk together the flour, sugar, baking soda, salt, and cocoa powder until well combined.
- In a large bowl, beat the oil, buttermilk, eggs, food coloring, vinegar, and vanilla extract with an electric mixer on medium speed until completely blended.
- Gradually add the dry ingredients to the wet ingredients, mixing on low speed just until combined. Don’t overmix!
- The batter should be smooth and have a vibrant red color. If it’s not red enough, you can add a little more food coloring.
Baking the Red Velvet Cake
Instructions
- Divide the batter evenly between the prepared cake pans.
- Gently tap the pans on the counter a few times to release any air bubbles.
- Bake for 25-30 minutes, or until a toothpick inserted into the center comes out clean.
- Allow the cakes to cool in the pans for 10 minutes.
- Turn the cakes out onto a cooling rack and let them cool completely before frosting (about 1 hour).
Making the Cream Cheese Frosting
Instructions
- In a large bowl, beat the softened cream cheese and butter with an electric mixer on medium speed until smooth and creamy (about 2-3 minutes).
- Gradually add the powdered sugar, one cup at a time, mixing on low speed until incorporated.
- Add the vanilla extract and salt, then increase to medium-high speed and beat until light and fluffy (about 2 minutes).
Assembling and Frosting the Cake
Instructions
- If your cake layers have domed tops, use a serrated knife to carefully level them.
- Place one cake layer on your serving plate and spread about 1 cup of frosting evenly over the top.
- Carefully place the second cake layer on top.
- Apply a thin layer of frosting all over the cake (this is called a “crumb coat”) and refrigerate for 15-20 minutes to set.
- Once the crumb coat has set, apply the remaining frosting to the top and sides of the cake, swirling decoratively with an offset spatula.
Red Velvet Cake Decorating Ideas
- Classic finish: Leave the frosting white with subtle swirls
- Red velvet crumbs: Sprinkle some reserved cake crumbs around the edges
- Chocolate curls: Add chocolate shavings on top
- Fresh berries: Top with strawberries or raspberries for a pop of color
- Piped rosettes: Use a piping bag with a star tip to create decorative swirls around the top edge
Fixing Common Issues
Dry Cake
Problem: Your cake turned out dry and crumbly.
Solutions:
- Make sure you’re not overbaking – check 2-3 minutes before the recommended time
- Ensure your oven temperature is accurate (use an oven thermometer)
- Use room temperature ingredients for better incorporation
- Measure flour correctly by spooning into measuring cups and leveling off, rather than scooping
Runny Frosting
Problem: Your cream cheese frosting is too soft or runny.
Solutions:
- Make sure your cream cheese and butter are softened but still cool to the touch
- Add more powdered sugar, 1/4 cup at a time, until desired consistency is reached
- Refrigerate the frosting for 15-20 minutes to firm up before using
- If your kitchen is warm, try chilling your mixing bowl before making the frosting
Cake Sinking in the Middle
Problem: The center of your cake has sunk.
Solutions:
- Check that your baking soda is fresh (should be replaced every 6 months)
- Don’t open the oven door during the first 20 minutes of baking
- Make sure you’re not overmixing the batter, which can cause too much air to be incorporated
Uneven Cake Layers
Problem: Your cake layers baked unevenly.
Solutions:
- Rotate pans halfway through baking
- Use an oven thermometer to ensure even temperature
- Check that your oven rack is level
- Use cake strips around your pans (you can make DIY ones with wet paper towels wrapped in foil)
Dietary Substitutions
Gluten-Free Version
Replace the all-purpose flour with a 1:1 gluten-free flour blend. Add 1/4 teaspoon xanthan gum if your blend doesn’t already include it.
Dairy-Free Version
- Replace buttermilk with 1 cup of non-dairy milk (like almond or soy) mixed with 1 tablespoon of lemon juice or vinegar
- For the frosting, use dairy-free cream cheese and vegan butter substitutes
Egg-Free Version
Replace each egg with one of these options:
- 1/4 cup unsweetened applesauce + 1/2 teaspoon baking powder
- 1 tablespoon ground flaxseed mixed with 3 tablespoons water (let sit for 5 minutes before using)
Reduced Sugar Option
- Reduce sugar in the cake to 1 cup
- Use 3 cups of powdered sugar in the frosting instead of 4
How To Store Your Original Red Velvet Cake
- Unfrosted cake layers can be wrapped tightly in plastic wrap and stored at room temperature for up to 2 days, or frozen for up to 1 month.
- Frosting can be made up to 3 days ahead and stored in an airtight container in the refrigerator. Bring to room temperature and beat briefly before using.
- Assembled cake should be stored in the refrigerator due to the cream cheese frosting. Let it sit at room temperature for 30 minutes before serving for the best flavor and texture.
Final Tips for Success
- Temperature matters: Room temperature ingredients incorporate much better than cold ones
- Don’t rush the cooling: Frosting a warm cake will lead to melty, messy results
- Gentle mixing: Mix just until ingredients are combined to keep your cake tender
- Patience with frosting: Take your time for the smoothest finish
- Offset spatula: Invest in this inexpensive tool for easier frosting application
There you have it—the easiest, most delicious original red velvet cake recipe that’s guaranteed to impress! Even if you’re a beginner baker, you can create this classic dessert with confidence using my step-by-step instructions. Happy baking!
FAQs About Original Red Velvet Cake
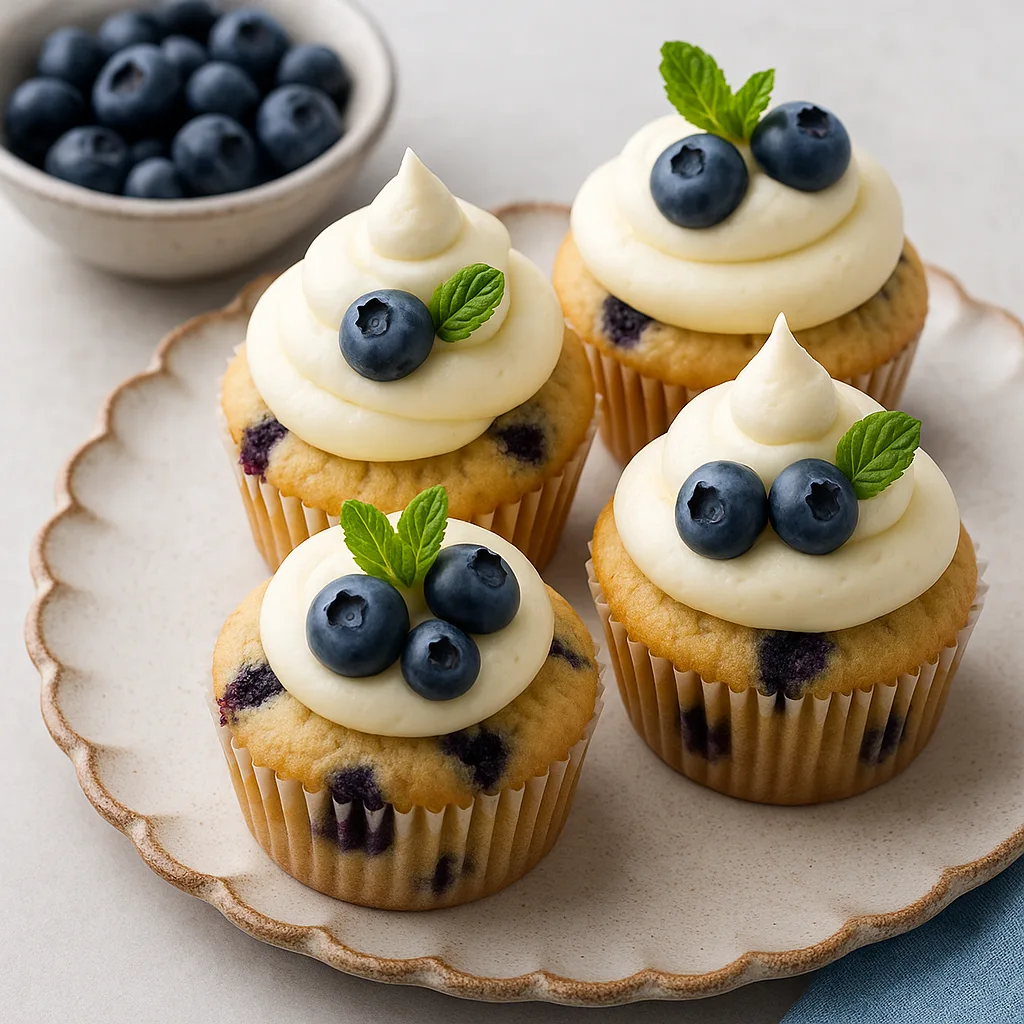
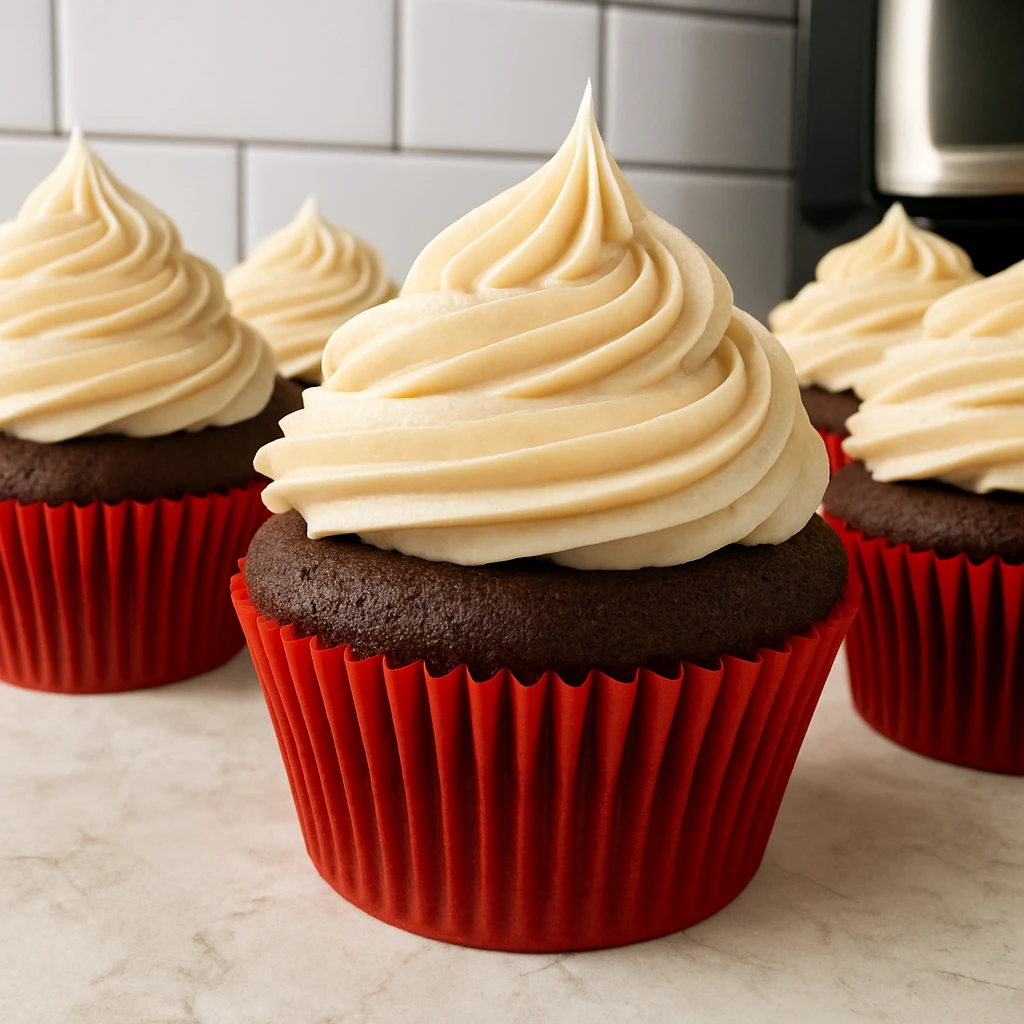
Q: Can I make this as cupcakes instead? A: Absolutely! This recipe will make about 24 cupcakes. Bake at the same temperature for 18-20 minutes.
Q: Why is there vinegar in red velvet cake? A: The vinegar reacts with the baking soda to help the cake rise and also enhances the red color.
Q: Can I use liquid food coloring instead of gel? A: Yes, but you’ll need more of it. Use 2 tablespoons of liquid food coloring instead of 1 tablespoon gel.
Q: Is it possible to make original red velvet cake without food coloring? A: Yes! You can use 2 tablespoons of beet powder or beet juice for a natural alternative, though the color will be more burgundy than bright red.
Q: How far in advance can I make this cake for a special occasion? A: You can make the cake layers up to a month ahead and freeze them. The assembled cake is best made 1-2 days ahead and kept refrigerated.