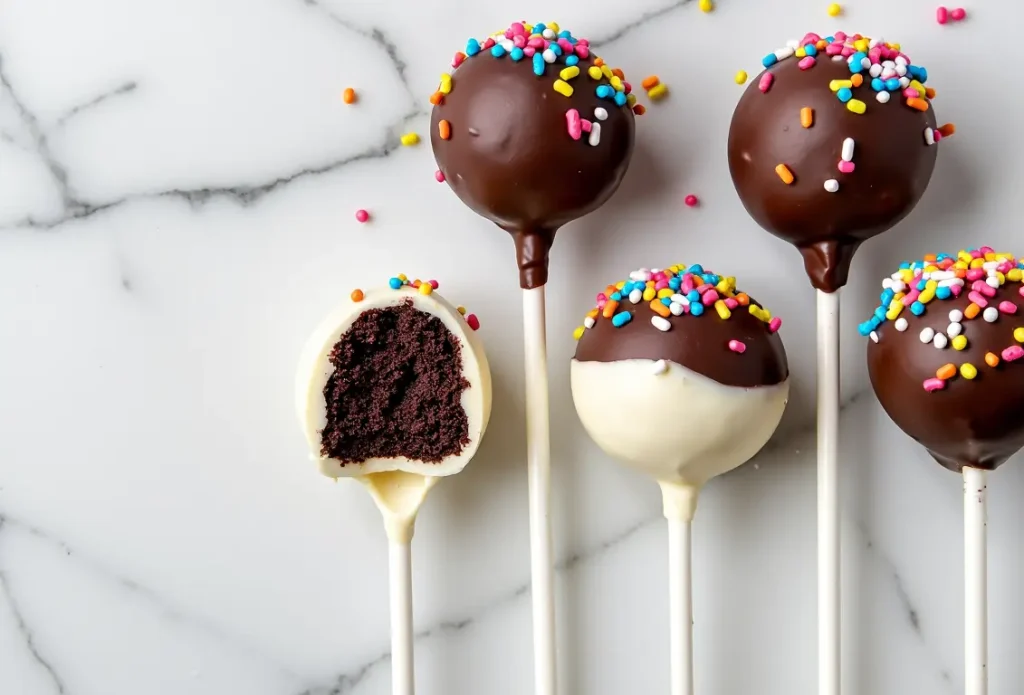
Chocolate Cake Pops Recipe
Craving decadent and fun treats? These chocolate cake pops are the answer! Our chocolate cake pops recipe delivers perfectly moist cake dipped in rich chocolate, creating bite-sized delights that are impossible to resist. Whether you’re planning a party, looking for a unique dessert, or simply want a fun baking project, these chocolate cake pops are guaranteed to be a hit. Skip the bakery and create these adorable treats in your own kitchen!
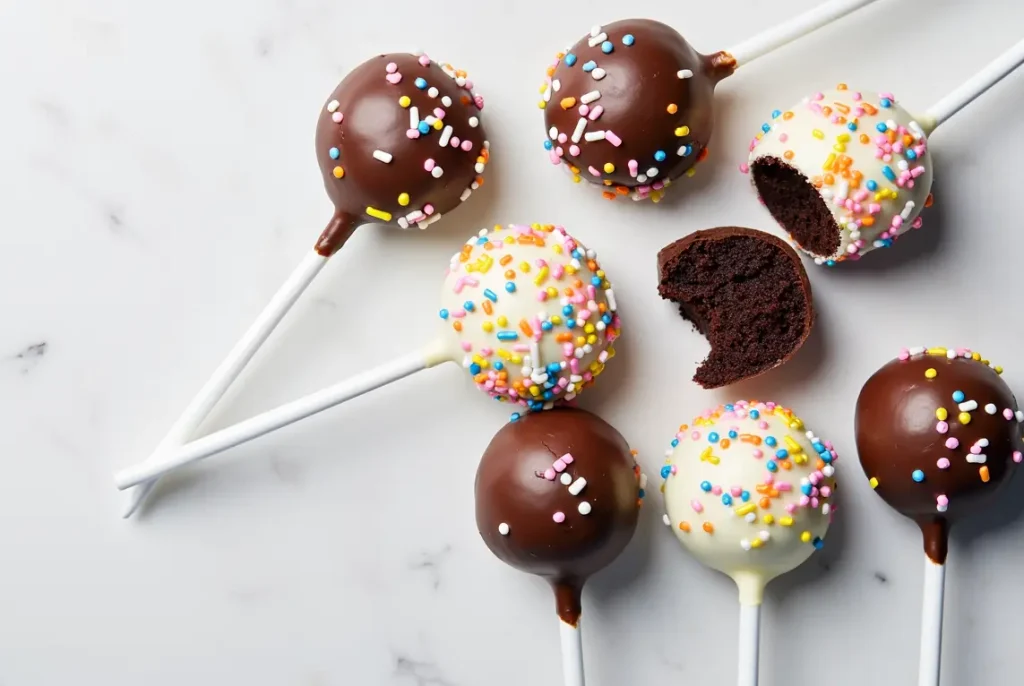
Cake pops have taken the dessert world by storm, offering the perfect combination of cake, frosting, and chocolate in one adorable, portable package. They’re versatile enough for birthday parties, wedding showers, holiday gatherings, or simply as a delightful sweet treat to enjoy with your afternoon coffee. The best part? You can customize them to match any theme or occasion, making them a truly magical dessert.
Chocolate Cake Pops Recipe Overview
Baking Time and Nutrition Facts
30 Cake Pops
45 minutes
30 minutes
3h15 minutes
2 Hours
180 Kcal
10 g
2 g
18 g
22 g
Why This Chocolate Cake Pops Recipe Works
Creating the perfect chocolate cake pops is an art, and this recipe has been carefully crafted to ensure success for bakers of all skill levels. The secret lies in the perfect balance between cake and frosting, creating a texture that’s neither too dry nor too wet. Inspired by techniques from Sally’s Baking Addiction, we’ve refined the process to make it foolproof.
The key to success is in the details: the right cake-to-frosting ratio, selecting high-quality chocolate for dipping, and mastering the technique of keeping cake pops securely on their sticks. We’ve tested and perfected each step to eliminate common pitfalls that home bakers often encounter. Whether you’re a first-time cake pop maker or a seasoned baker, this recipe will help you create picture-perfect chocolate cake pops every single time.
Chocolate Cake Pops Ingredients
Key Ingredients
- For the Chocolate Cake
1½ cups (188g) all-purpose flour
1 cup (200g) granulated sugar
¼ cup (25g) unsweetened cocoa powder
1 teaspoon baking soda
½ teaspoon salt
1 large egg, room temperature
½ cup (120ml) buttermilk
½ cup (120ml) vegetable oil
2 teaspoons vanilla extract
½ cup (120ml) hot water
- For the Frosting
½ cup (115g) unsalted butter, softened
2 cups (240g) powdered sugar
3 tablespoons unsweetened cocoa powder
2-3 tablespoons heavy cream or milk
1 teaspoon vanilla extract
- For Dipping and Decorating
16 ounces (450g) semi-sweet chocolate, chopped
Sprinkles, optional
Candy melts for decorating, optional
Tools You’ll Need
- Stand mixer or hand mixer
- Mixing bowls
- Baking pan (9-inch)
- Parchment paper
- Cake pop sticks
- Double boiler or microwave-safe bowl
- Cake pop stand
- Spatula
- Cooling rack
How To Make Chocolate Cake Pops
Instructions
- Bake the Chocolate Cake
1- Preheat oven to 350°F (177°C) and line a 9-inch cake pan with parchment paper.
2- In a large bowl, whisk together dry cake ingredients.
3- Add wet ingredients and mix until just combined.
4- Bake for 30-35 minutes until a toothpick comes out clean.
5- Allow cake to cool completely. - Prepare the Frosting
1- Beat softened butter until creamy.
2- Gradually add powdered sugar and cocoa powder.
3- Mix in vanilla and cream until smooth. - Create Cake Balls
1- Crumble cooled cake into fine crumbs.
2- Mix in frosting, a little at a time, until the mixture holds together.
3- Roll into 1-inch balls and place on a baking sheet.
4- Refrigerate for 1-2 hours.
- Dip and Decorate
1- Melt chocolate using a double boiler or microwave.
2- Dip cake pop sticks into melted chocolate, then insert into cake balls.
3- Dip each cake pop into melted chocolate, tapping off excess.
4- Decorate immediately with sprinkles or drizzled chocolate.
5- Stand cake pops upright to set.


Notes On The Recipe For Chocolate Cake Pops
Decorating Ideas
- Use colored candy melts for vibrant coatings
- Sprinkle with mini chocolate chips
- Drizzle with contrasting chocolate colors
- Add edible glitter for sparkle
- Create themed decorations for parties
Troubleshooting
- Cake pops falling off sticks: Ensure chocolate is not too hot and cake balls are chilled
- Cracking chocolate: Let cake pops come to room temperature slowly
- Uneven coating: Tap stick gently to remove excess chocolate
- Dry cake pops: Don’t overmix frosting into cake crumbs
Storage Instructions
- Store in an airtight container
- Refrigerate for up to 1 week
- Freeze for up to 6 weeks (wrap individually in plastic wrap)
- Bring to room temperature before serving
FAQs About Chocolate Cake Pops Recipe
1. Can I use a boxed cake mix?
Yes, you can use a boxed cake mix! To adjust the recipe, simply follow the instructions on the box for making the cake, but consider adding extra ingredients to improve flavor and texture. For example, you can replace water with milk, add an extra egg for richness, or incorporate a bit of vanilla extract for added flavor. You could also try adding some extra baking powder or soda if you want a fluffier texture.
2. Can I use a different type of chocolate?
Yes, you can use different types of chocolate, but there are some considerations. Dark chocolate offers a richer, less sweet flavor compared to milk chocolate, while white chocolate tends to be sweeter and more delicate. Be aware that dark chocolate might harden quicker, while white chocolate can be softer and more prone to melting. Make sure to adjust your cake pops’ coating to match the type of chocolate you’re using for the best texture and flavor.
3. How long do cake pops last?
Cake pops typically last 3-5 days when stored in an airtight container at room temperature. If you want to extend their freshness, you can store them in the fridge for up to a week. Just remember to let them come to room temperature before serving to avoid any condensation from forming on the coating.
4. Can I make these ahead of time?
Absolutely! Cake pops can be made ahead of time. In fact, it’s often easier to prepare them a day or two before you need them. After shaping and coating, simply store them in an airtight container. If you’re preparing the cake ahead of time, you can freeze the cake balls after they’ve been formed, then dip them in chocolate later.
5. Can I use candy melts instead of chocolate?
Yes, candy melts can be used instead of chocolate. They are easier to work with, especially since they don’t require tempering and melt smoothly. However, candy melts can be more sweet than chocolate and may have a slightly waxy texture. They work well for coating but are not as rich in flavor as real chocolate.
6. What’s the best way to melt chocolate?
The best way to melt chocolate is by using a double boiler or the microwave. For a double boiler, fill a pot with water and heat it to a simmer, then place a bowl with chocolate on top, ensuring the bowl doesn’t touch the water. Stir until melted. If using a microwave, melt in short 20-30 second intervals, stirring between each interval to prevent burning.
7. What is the best type of stick to use?
The best type of stick for cake pops is a lollipop stick, which is sturdy enough to hold the weight of the cake ball. Wooden sticks or plastic ones work well, but make sure they are food-safe. If you’re using a thick cake pop, look for sticks that are about 6 inches long to give enough support. Always dip the stick in melted chocolate before inserting it into the cake ball to help it stay in place.
Ready to Bake?
Making chocolate cake pops is a delightful baking adventure that combines creativity, skill, and pure deliciousness. Don’t be intimidated – with practice, you’ll be creating professional-looking treats in no time!
We’d love to hear about your cake pop creations! What are your favorite decorating techniques? Share in the comments below and tag us in your baking adventures!